
This reshade preset throws every mod out of the water in my opinion. I worked for hours getting the perfect settings for you to enjoy. YOU MUST ENABLE HDR IN ORDER TO GET THE PROPER VISUALS and set your HDR calibration in game to the game option and dropping peak brightness and whites to minimum. This is what I used while making this reshade. It will still work without HDR but it may not look as good.
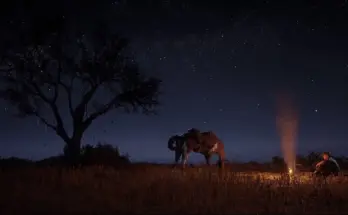
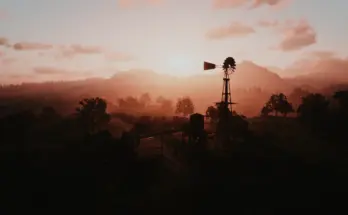
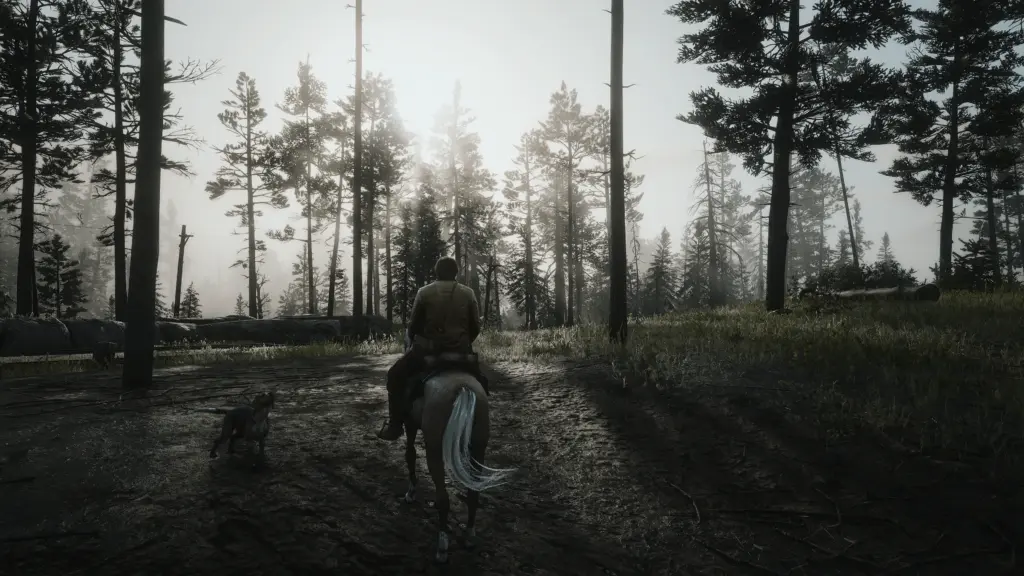
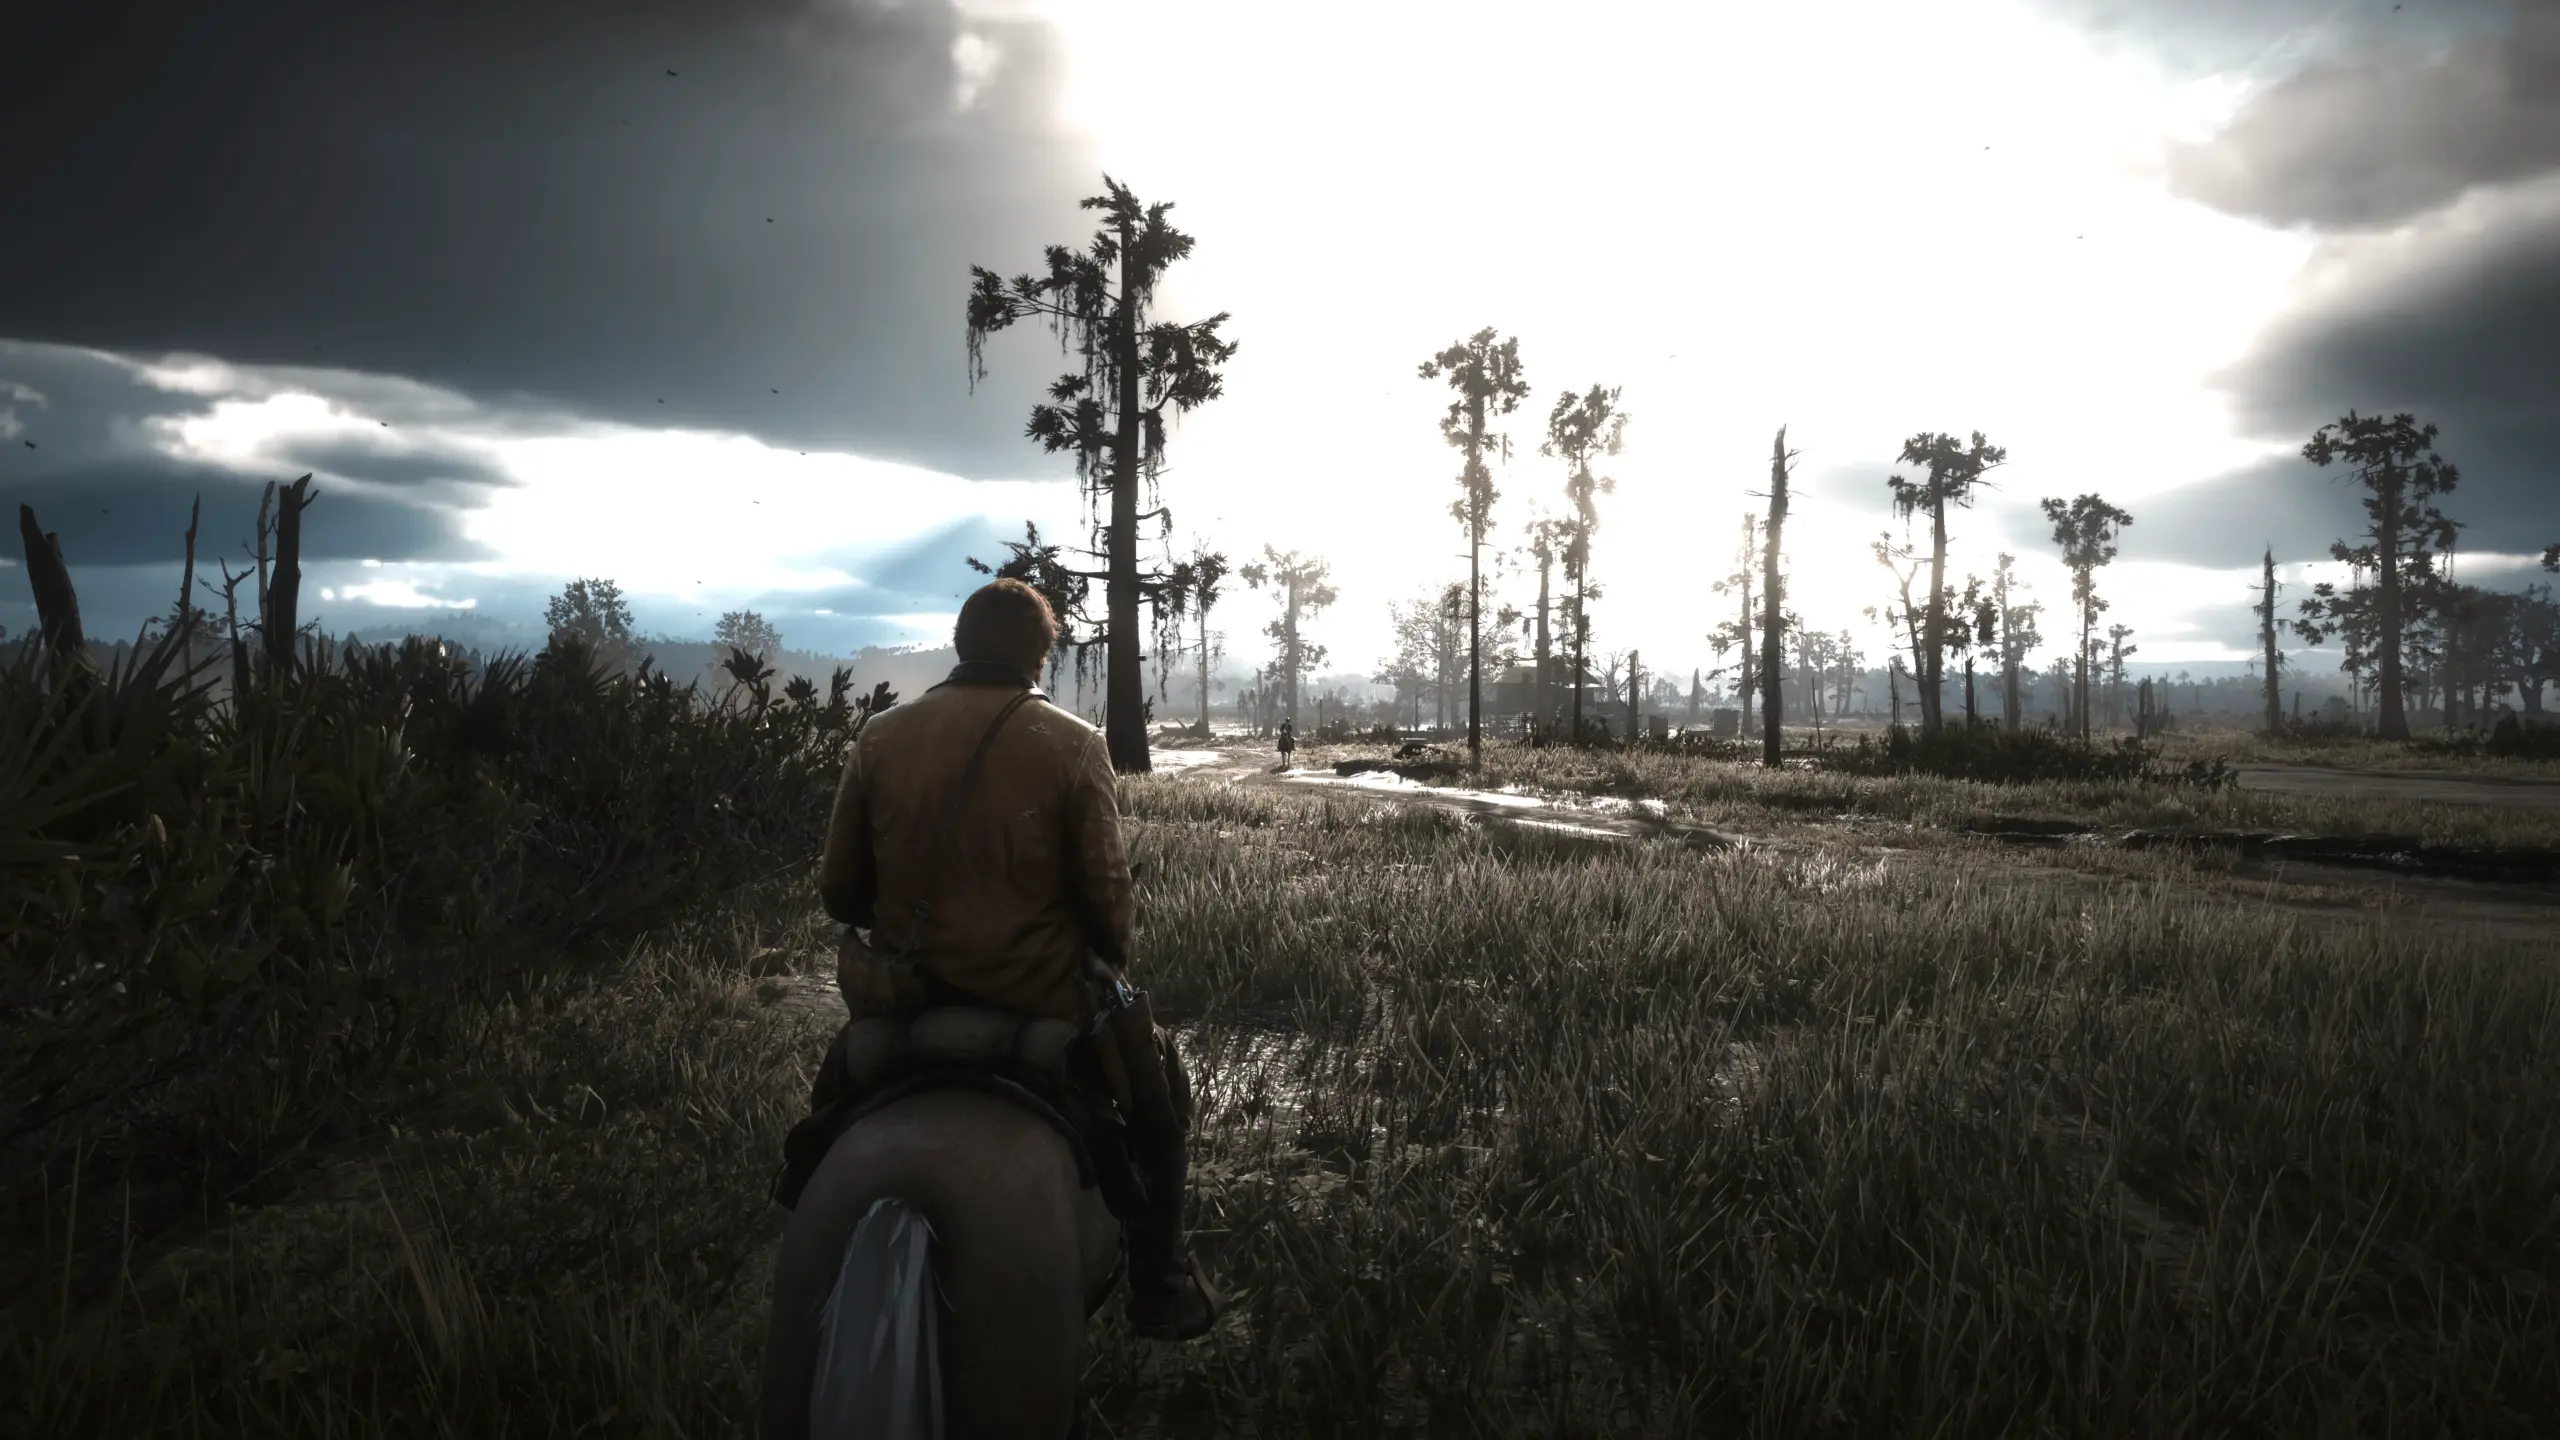
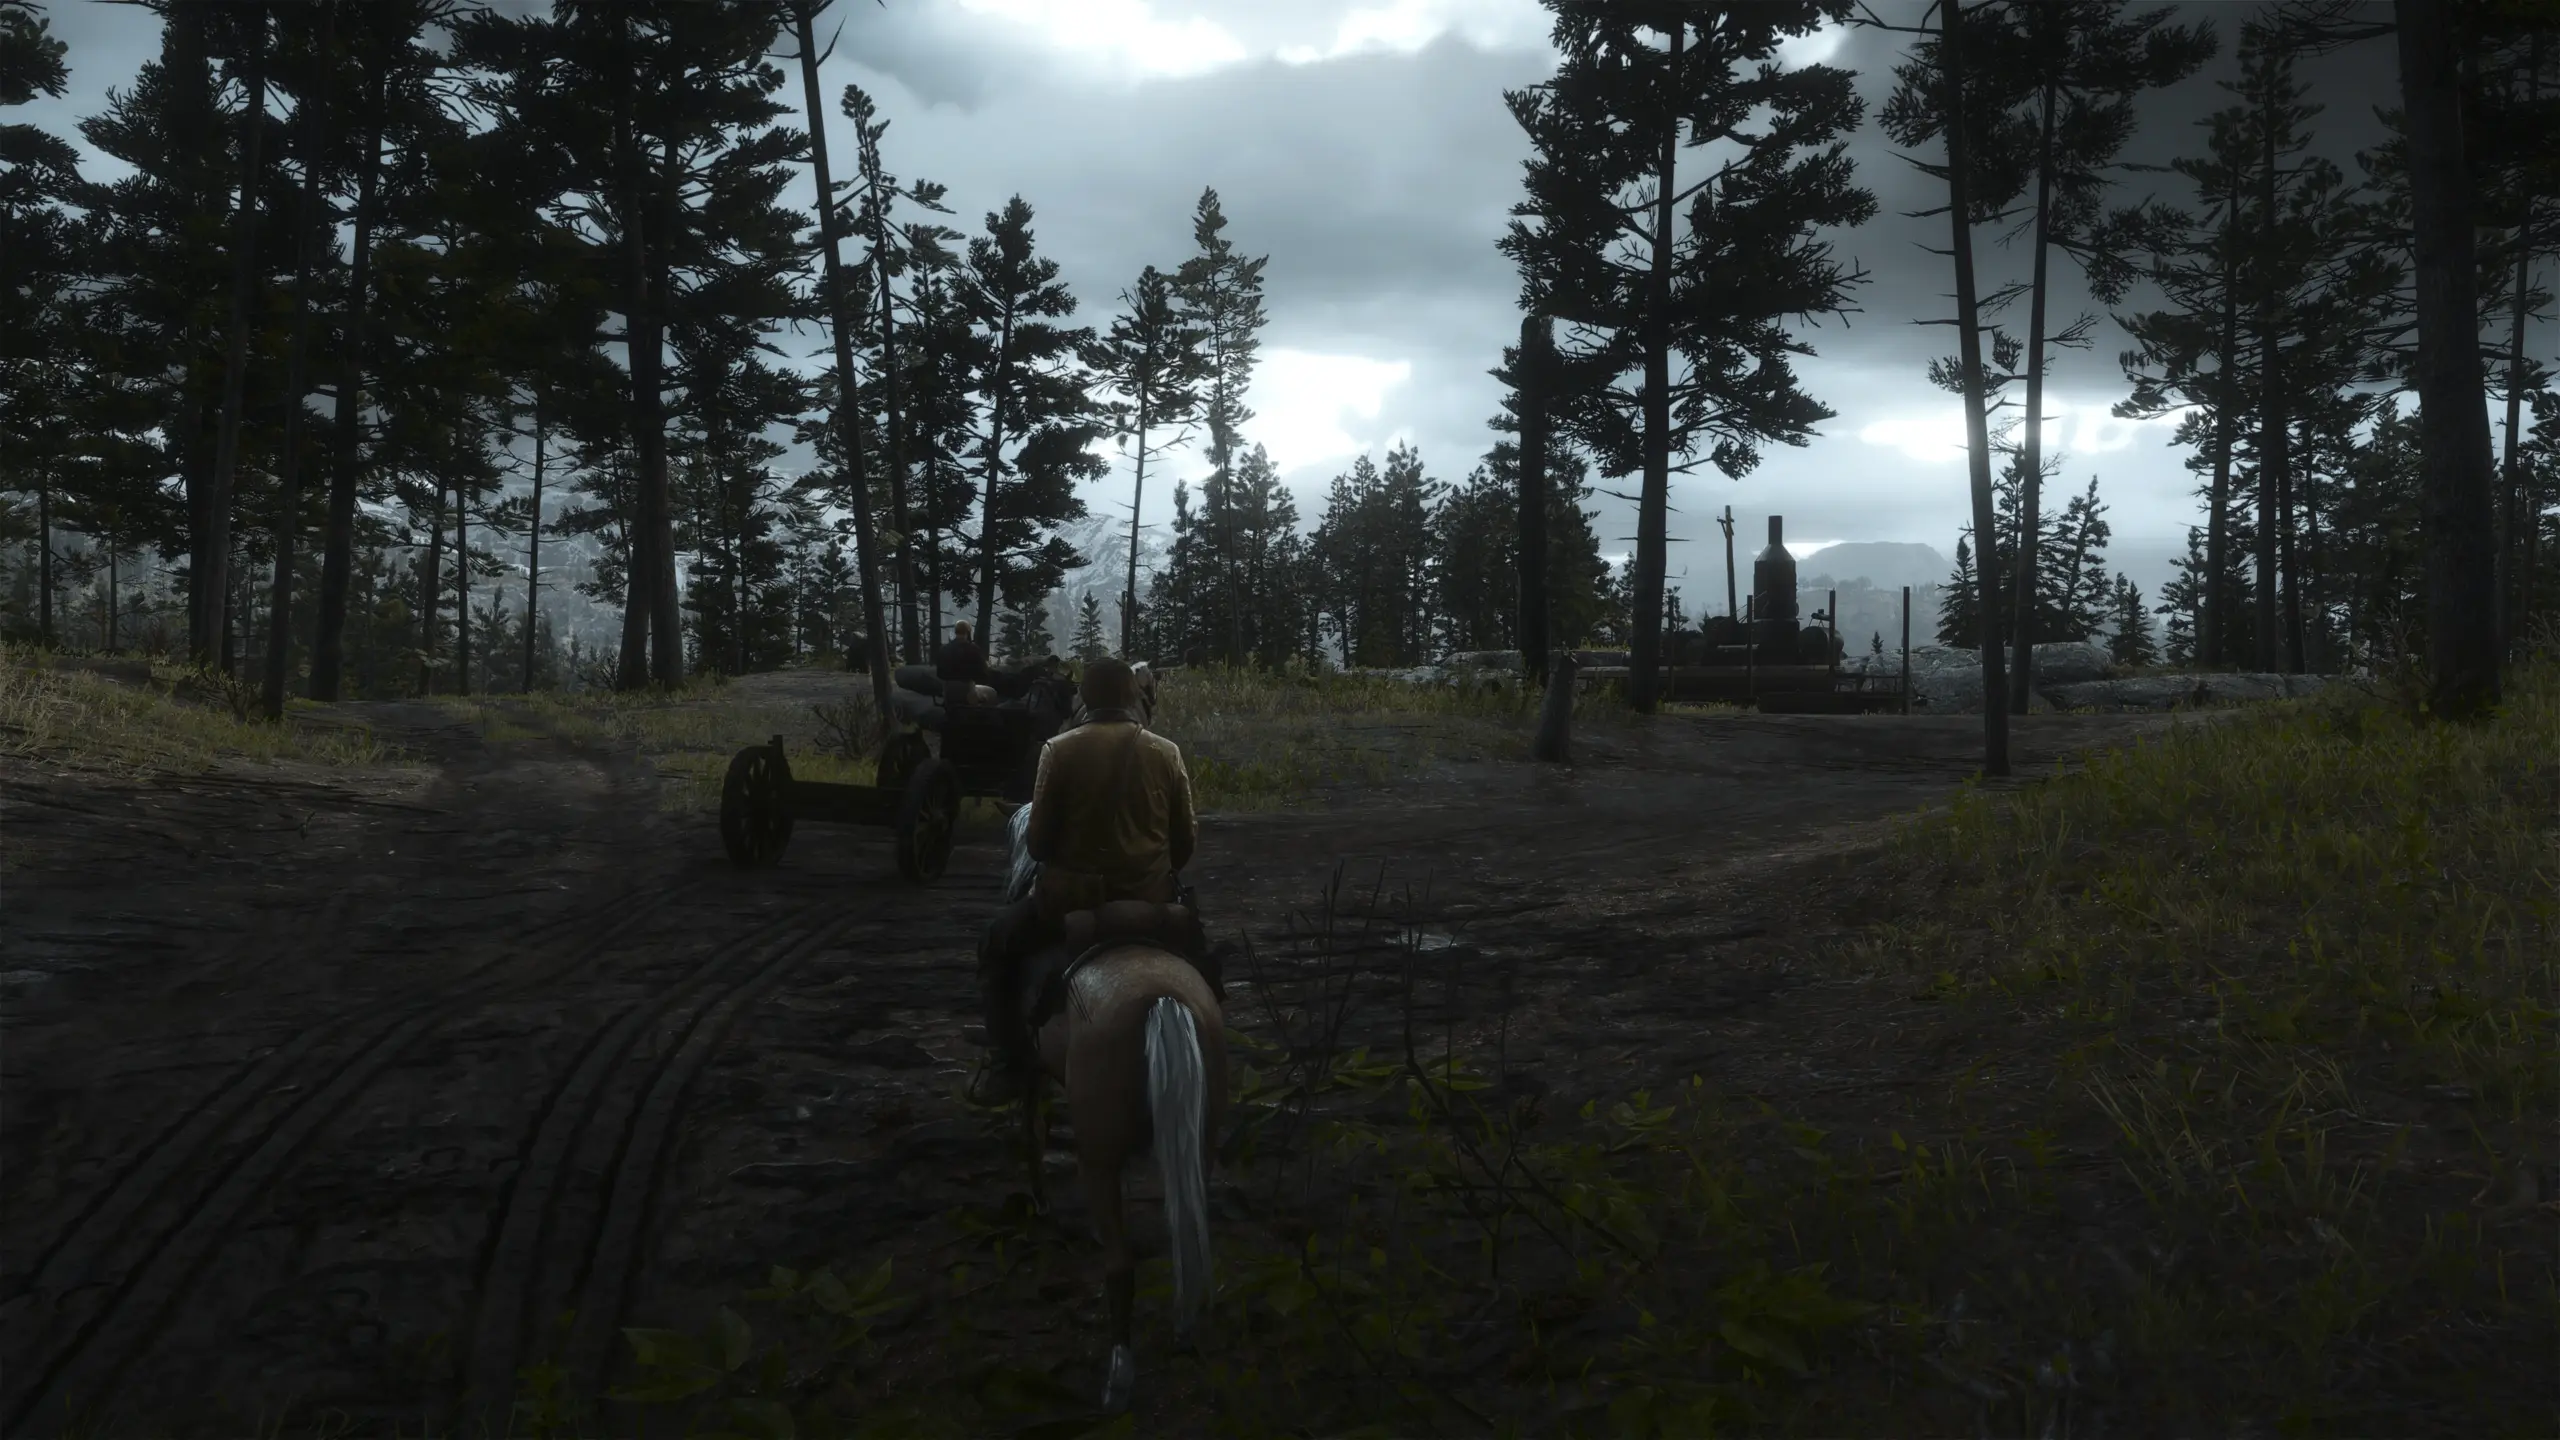
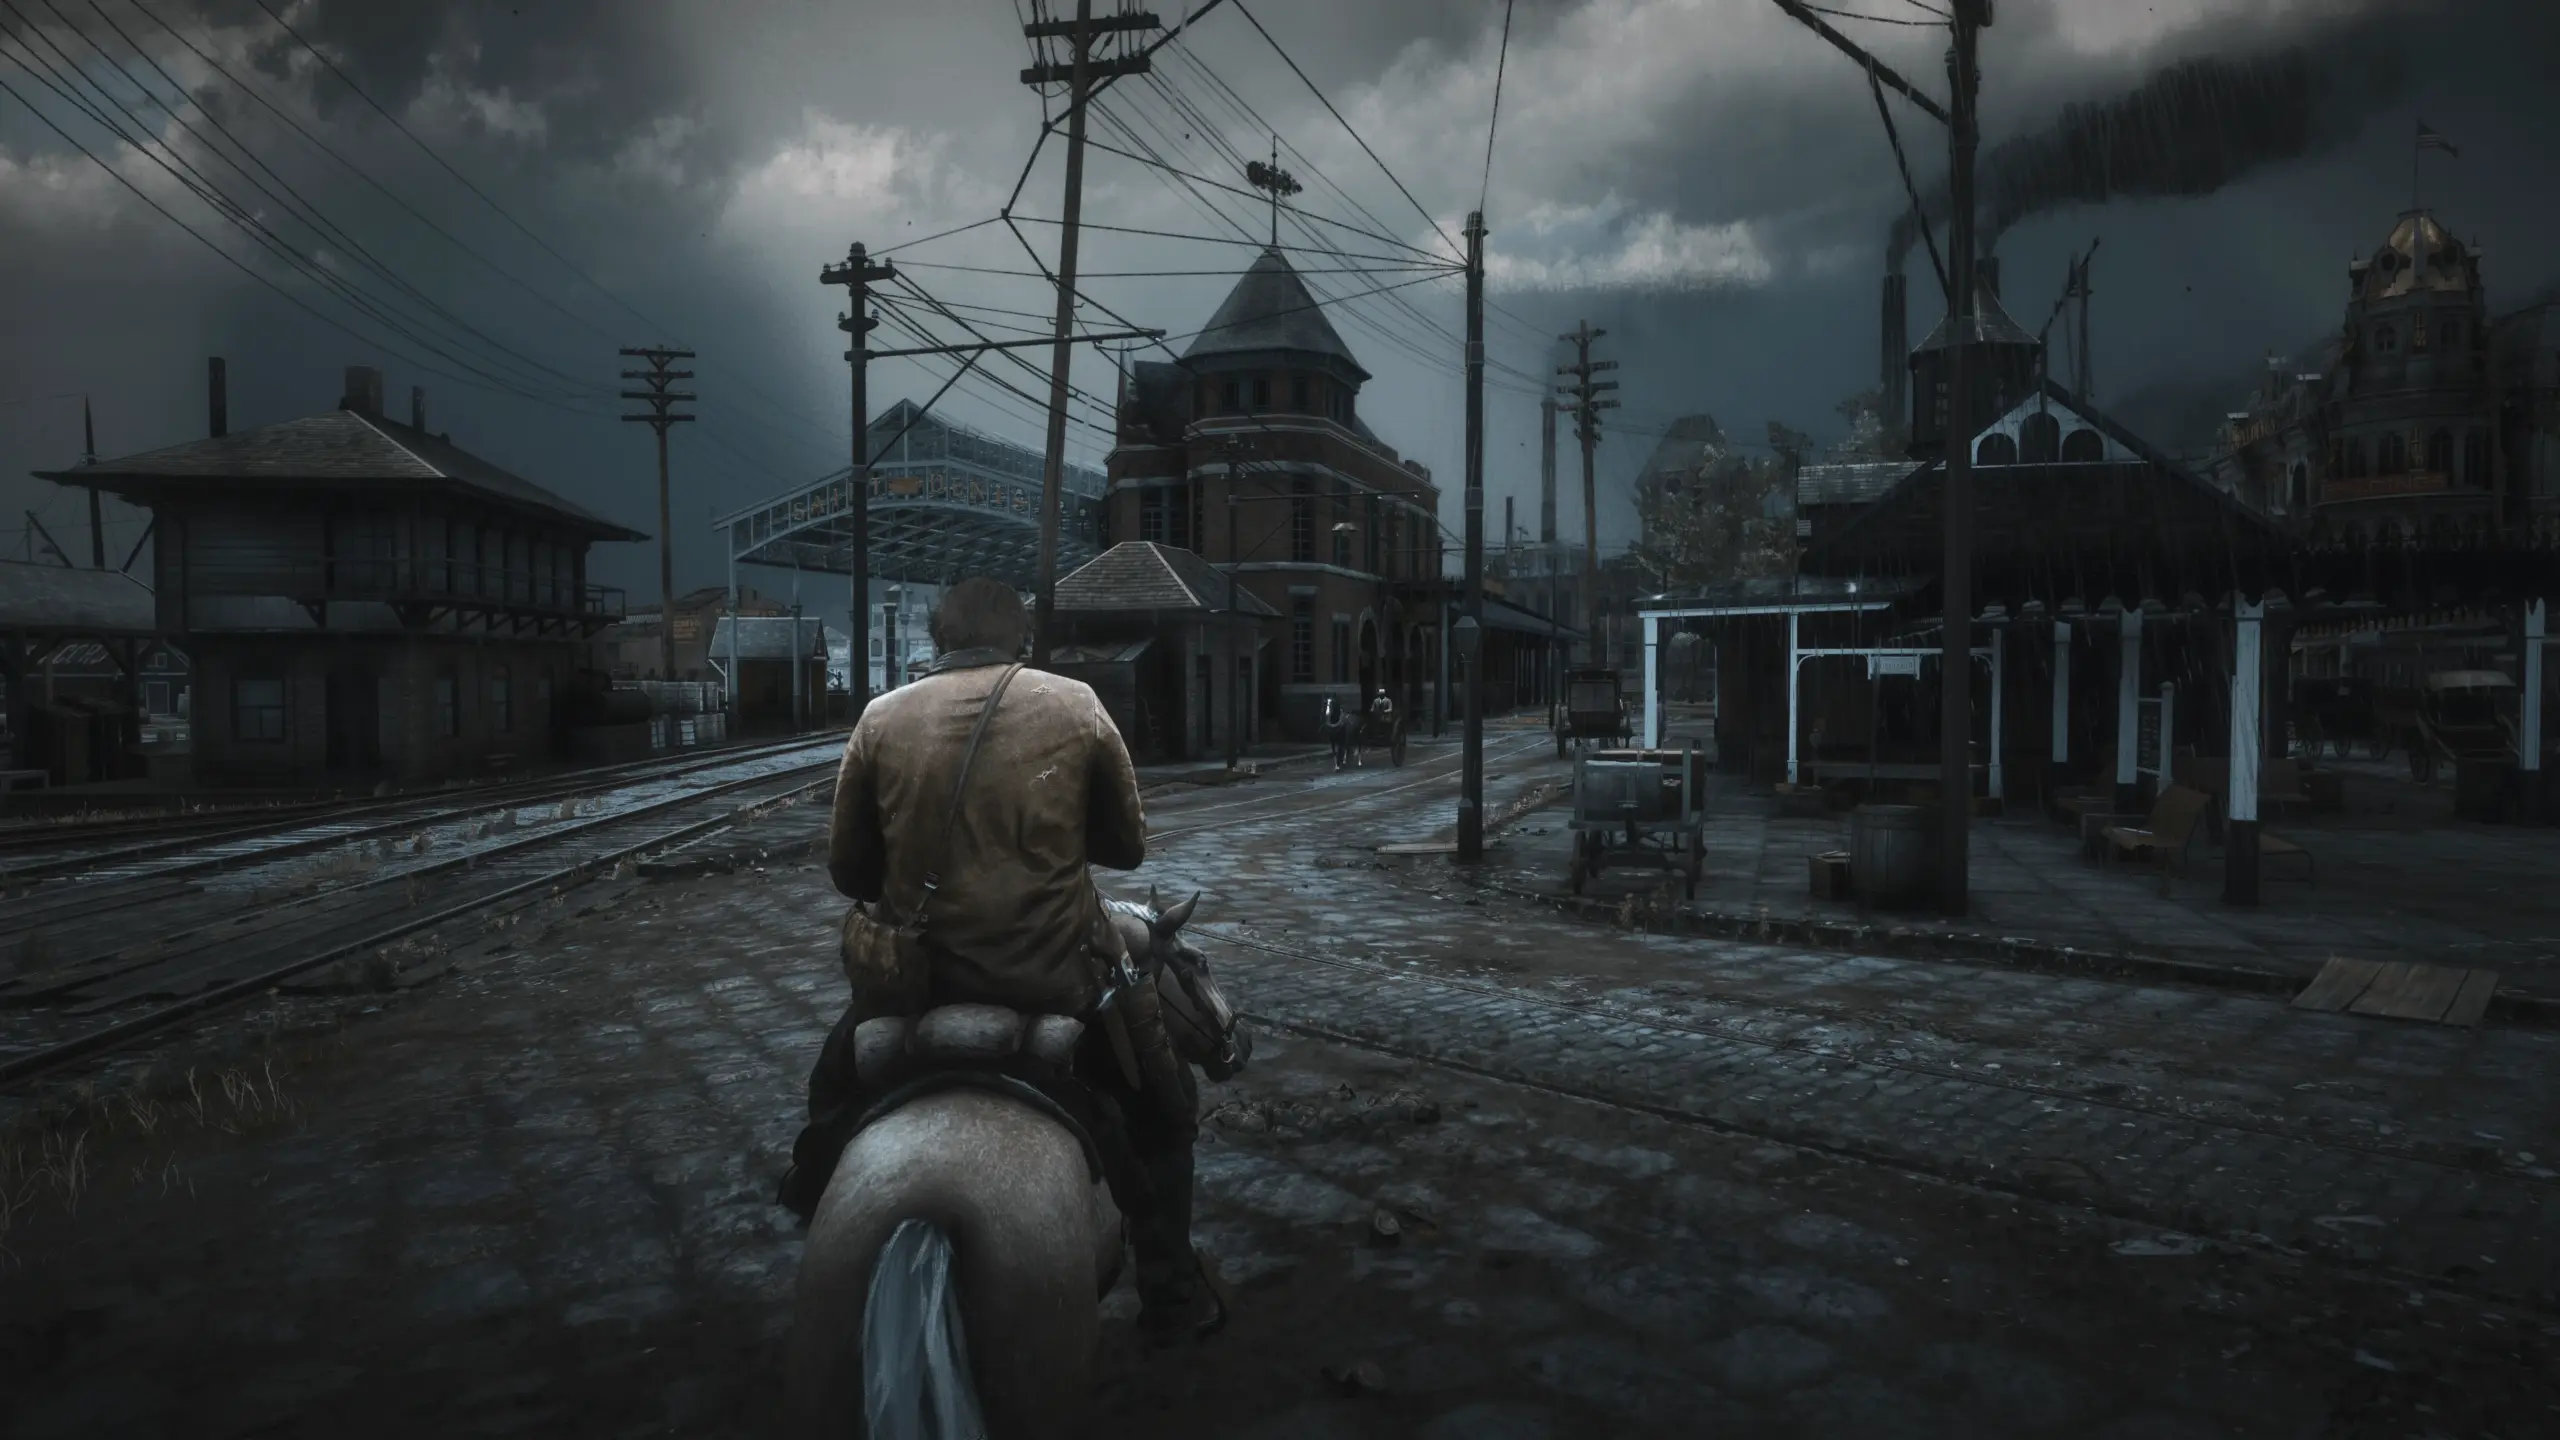
I made this solely with the intent of getting the most realistic possible visuals without oversaturation or exaggerated effects. Any future updates will be for improved visuals, otherwise this should be the only version you ever see.
I recommend installing Visual Redemption by Razed mods alongside this reshade preset for the best visuals as this is the mod I had installed while making this preset, however it will still look mostly the same without it, just not as good.
Note: The visuals do not look exactly like the screenshots. They actually look better. The screenshots provided are messed up due to HDR being enabled on my end. I couldn’t successfully get a working screenshot, so I had to edit my screenshots after and used the windows edit tool to make it look as close to what I saw in-game as I could.
Also, If you have difficulty finding the preset in the drop down, feel free to edit the ini name to whatever you want and it will still work so long as you keep the .ini part in.
To install:
Drag and drop this file into your main RDR2 directory. Install the latest version of reshade and run the setup. Search for your RDR2 directory and find the application with the biggest file size called “RDR2”. It should be around 80 thousand kilobytes. Then select the API you are running the game on. I suggest using Vulkan as it typically runs better (make sure it is set to that in your game settings, or you can just keep using directx, just make sure that whatever one you are using is the same one you select in the reshade setup.) Once you do that, click the “Uncheck All” button and then select it again so that it will download every possible effect for your reshade. Finish the rest of the setup and then that is it.
Now, open your game and change your HDR settings. In order to turn on HDR, make sure your game is set to fullscreen, NOT windowed fullscreen, otherwise it won’t work. Now you should scroll down in your graphics settings and see HDR. Make sure it is turned on and then open HDR calibration which is just underneath that. Change the type from cinematic to game. Then turn the peak brightness and whites all the way down. Apply changes.
Finally, hold the home key on your keyboard. You should see the reshade menu show up. Click skip tutorial and then on the dropdown where it says reshadepreset, change that to the new mod file you just put in your directory from me and then hit the select button. You should see effects now enabled. The mod should be fully functioning now!
Requires:
Better Nights Vanilla Days – recommended
Renewal – Visual Overhaul – Highly recommended for better textures
VESTIGIA 2.0 – A Visual Mod – recommended
WhyEm Visuals ReShade – Highly Recommended
Reshade – Required
Visual Redemption – Highly Recommended
Credits:
Preston
If the download link is outdated or doesn't work, you can add your download link. (If your link is valid, we will approve it within 24 hours.)
Download mod
| File | File size |
|---|---|
 Reshade Preset Improved-1-1
|
12 KB |
|
New reshade for improved lighting at night-1-2
|
6 KB |
|
New reshade for improved lighting at night 1.1.0
|
6 KB |