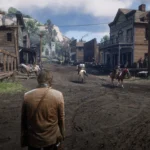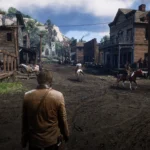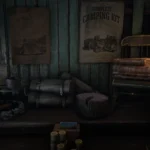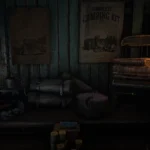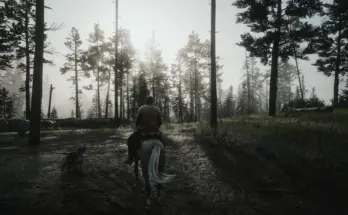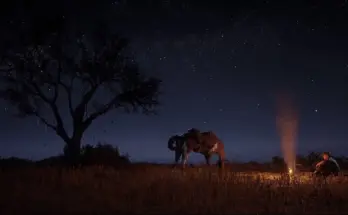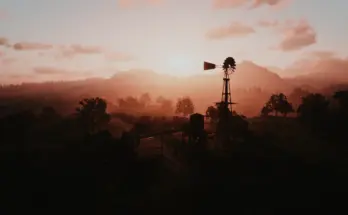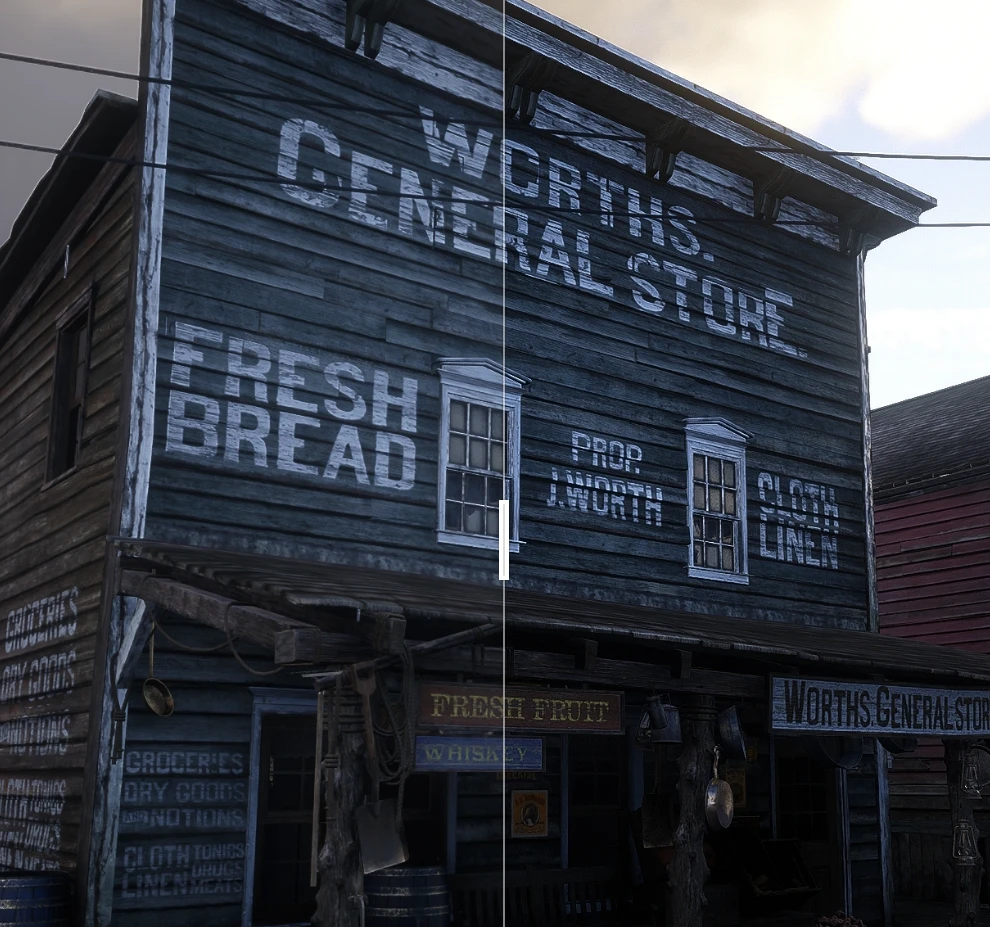
Simple & Performance friendly ReShade preset for slightly improved image (clarity – sharpness – clearer image – deblur – no white veil or fog – more readable text).
Suitable for any game.
Installation instructions:
1. Download ReShade
2. Run the installer to select game for the installation
You need to select “main” .exe (RDR2.exe)
3. Select the rendering API – Vulkan or DirectX 10/11/12 (check in game settings or use RTSS in game)
4. Select effects to install (click “Next”)
5. Extract the files from the zip file into game folder, where you selected the “main” .exe
6. Run game
7. Press “Home” and select deblur.ini
8. Press “PageDown” (this will disable the “unnecessary” effects) and enjoy the game
9. If you have the Social Club window open when you click “Home”, then change the Reshade.ini settings –> KeyOverlay=113,0,1,0 (Shift+F2)
Additional information and tips:
-For main preset i used: LumaSharpen – Tonemap – HDR_Tech – Vibrance.
-The “unnecessary” effects (like AMD CAS – Curves – DPX – LiftGammaGain) are saved to stay at the top of the list, so you can customize the image if needed.
-In some scenes “Curves” gives a nicer picture than “Tonemap”, you can use this effect, but then I also recommend –> disable “Vibrance”.
-If the image seems too dark or you notice a drop in performance –> disable HDR_Tech
-If the image is too saturated –> disable “Vibrance”
-If you see a white border (outline) on objects –> change LumaSharpen to AMD CAS
Keybinds:
-Toggle ReShade UI: Home
-Toggle ReShade effects: Insert
-Toggle ReShade unnecessary effects: Page Down
Shaders used:
1. LumaSharpen / AMD FidelityFX Contrast Adaptive Sharpening (CAS)
2. Tonemap / Curves
3. HDR_Tech
4. Vibrance
Uninstallation (delete this):
-reshade-shaders
-deblur.ini
-dxgi.dll
-ReShade.ini
-Reshade.log
-ReShadePreset.ini
Credits:
Rem1ng
