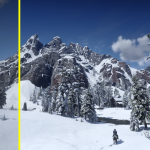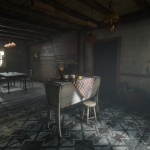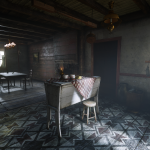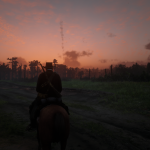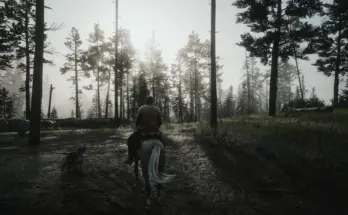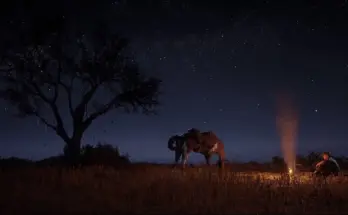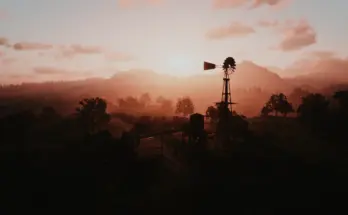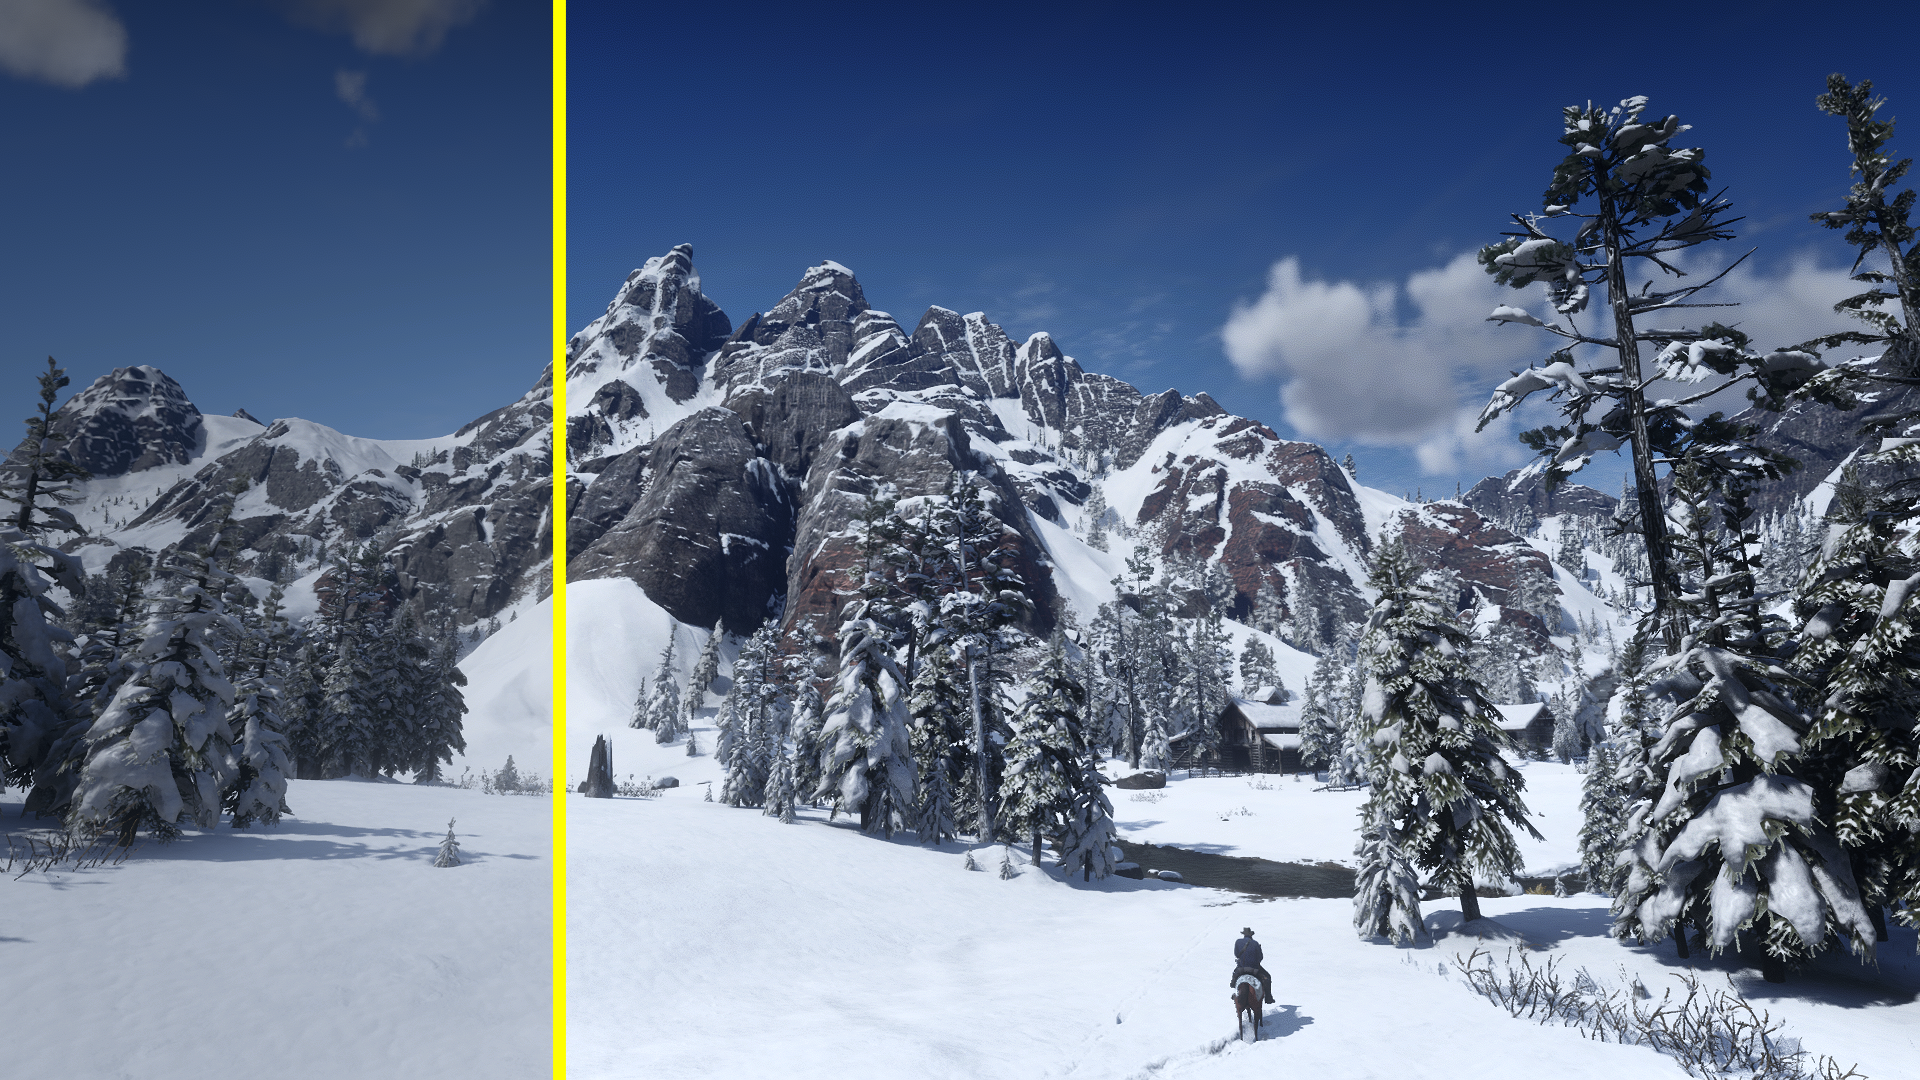
A 0-4 fps loss ReShade with multiple quality presets that applies filmic tonemapping, removes vignetting, washed out colors, some bloom and atmo for a clearer image.
Version 3.0 is here! MORE configurable than ever before with 4 different quality presets. OPTIMIZED to look good on every setting. 0-4 fps impact.
Features
· Filmic tonemapping
· Proper white balancing
· Vanilla vignette removal
· Extra texture detail
· Enhanced ambient lighting
· Bloom reduction outside
· Clearer vistas
· Brighter mornings
· Richer sunsets
· Darker nights
· Brighter stars
· Multiple quality presets
Installation
If you already have an existing ReShade preset you would like to clean uninstall before this, including previous versions of this preset, you can just delete the reshade-shaders folder, ReShade.ini, and any .ini file you identify as a ReShade preset.
Then just skip to step 6.
1. Download ReShade from the link here.
2. Run the installer. If you are running RDR2 on the Vulkan API, I personally recommend enabling ReShade globally in Vulkan, otherwise you will have to run the installer and keep it open every time you run your game for ReShade to work. A notable side effect however is that ReShade will then be enabled in every Vulkan game on your system.
3. Click the button to select a game, and select your RDR2.exe executable. You should see it automatically, but if not, you can browse for it.
4. Select the rendering API you are currently using. This preset was tested on Vulkan.
5. When you get to the “Select effects packages to install”, you can actually just skip it. However if you want to experiment with your own mix of shaders, now is the time to select.
6. Copy these folders and files into the main Red Dead Redemption directory with the RDR2.exe and overwrite any files.
· reshade-shaders
· ReShade.ini
· ReShade_RDFilmicClarity_v3.0.ini
7. OPTIONAL: The default quality preset is Ultra, and it costs about 3-4 fps on my i5-3570k CPU and GTX 1060 6gb GPU. However if you prefer more performance, view the README.txt in the “Quality Presets” folder, and copy your preferred ReShade_RDFilmicClarity_v3.0.ini into the main Red Dead Redemption directory with the RDR2.exe.
Overwrite any files.
You can also try out your own combination of these shaders at anytime by pressing the “End” key to open the ReShade overlay, and enable and disable effects to your own choosing. Take note that if you enable LUT alongside either FilmicTonemap or ColorTemperature, it’ll break the preset, doubling effects, as the LUT is a performance version of those shaders combined.
This preset was built with the default gamma calibration in mind, make sure you have your monitor calibrated. It was also tested with the Vulkan API, hopefully it’ll work for DX12 as well, but I haven’t tested it.
Keymapping
· “Del” toggles the effect
· “End” opens the ReShade overlay
· “Page Down” reloads ReShade
Credits:
Voltamage
Many thanks to
· crosire for ReShade
· prod80 for Color effects, especially filmic tonemapping and color temperature
· CeeJay.dk and friends for SweetFX
· Ioxa for Clarity.fx
· Marty McFly for qUINT, especially the LUT generator
· supra107 for an excellent automated LUT cropper
· iJamesss for Red Dead Trainer, with which I could quickly develop this preset
· Evil Blunt and Three-Socks for Red Dead Freecam, making screenshots easy
