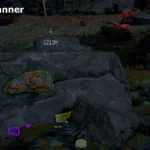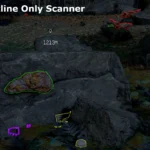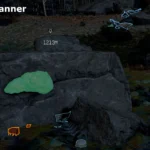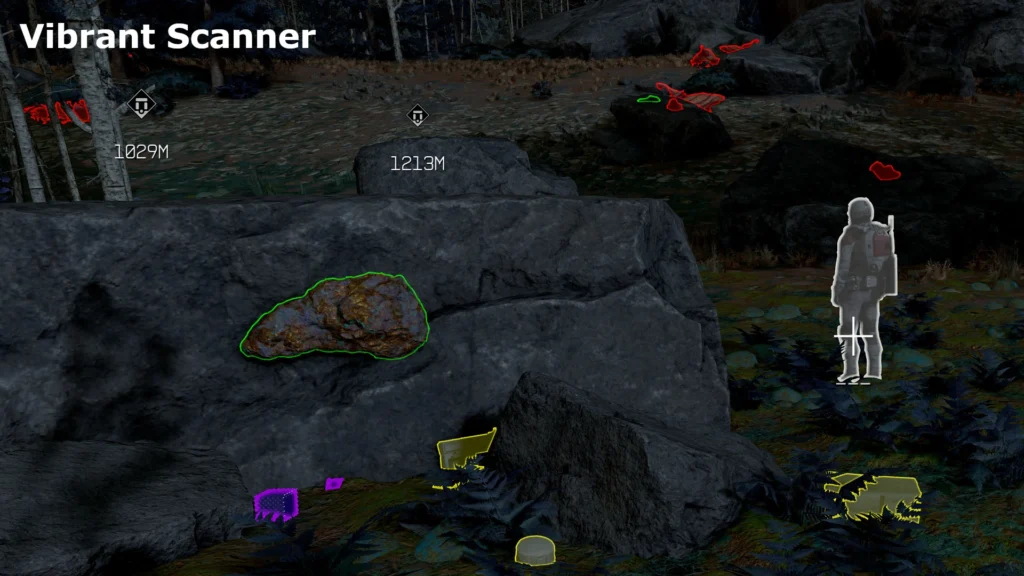
New vibrant colors for the scanner to make items stand out more clearly.
Settings to change the colors of the scanner.
Vibrant pure colors.
Unscanned is Red to really stand out.
Scannable (in range) turns to White.
Fully scanned still Green but pure vibrant.
In-Progress scanned are a Sky Blue.
Objects like junk, chests, and materials are now Yellow to separate from Flora, Fauna, and Resources.
Tracked resources are Purple.
Outline pulse is more exaggerated to help stand out.
Notice: For tracked items to highlight, you must have unlocked Social > Scavenging (Rank 4).
Installation:
INI File:
1. Pick One INI File.
2. Copy the contents of the INI File to your StarfieldCustom.ini file.
Default Location is: %UserProfile%\Documents\My Games\Starfield
If it doesn’t exist, create it.
3. Save and start the game.
BAT File:
WARNING, Running a BAT File can disable Achievements!
Make sure you have a separate achievement enabler.
Settings are applied when the game starts…
1. Pick One BAT File.
2. Open your StarfieldCustom.ini file.
Default Location is: %UserProfile%\Documents\My Games\Starfield
If it doesn’t exist, create it.
3. Under the [General] Header add the line
(If [General] doesn’t exist, add it)
#Remove the spaces in “sStarting Console Command” this is a bug with Nexus Mods BBCode
[General]
sStarting Console Command = BAT VibrantScanner-Outline
-or-
#Remove the spaces in “sStarting Console Command” this is a bug with Nexus Mods BBCode
[General]
sStarting Console Command = BAT VibrantScanner-Outline
Change Settings In Real Time…
1. Copy all BAT files to your Starfield root folder.
2. While In-Game open the console (~ Tilde).
3. Type: bat VibrantScanner
-or-
bat VibrantScanner-Outline
-or-
bat VibrantScanner-Reset
Uninstallation:
1. Remove any changes to your StarfieldCustom.ini file.
2. Restart the game.
Credits:
Feyawen
