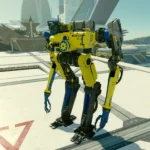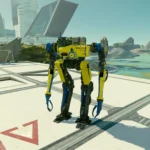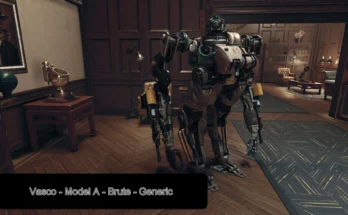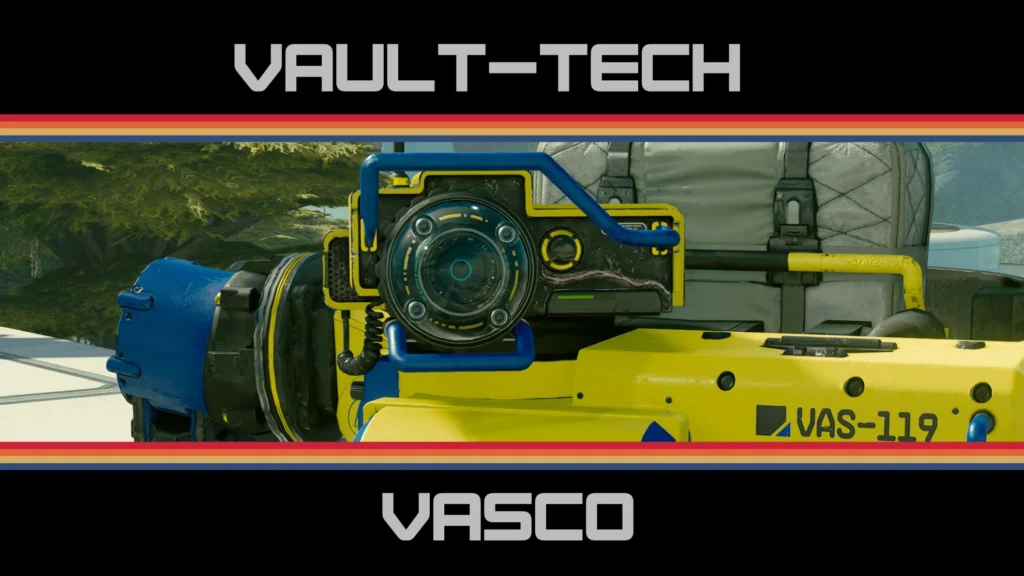
VASCO is a massive nerd who loves to cosplay
A nice fresh paint job for VASCO with a Vault Tech theme. This mod replaces VASCO’s default textures in game. It tidies up the majority of body scratches and dirt while leaving enough patina in places so he doesn’t look like he’s made of plastic. Recommended installation method is via Vortex or your chosen mod manager (note: files are structured for Vortex installation).
Installation
You can install this mod with Vortex. You can also download the archive independent of Vortex if you need to restructure the files for a different mod manager or to manually install it yourself
Archive Invalidation
Vortex should handle this for you but if you are having issues the following may help. To get the mod working you may need to set up Archive Invalidation if you haven’t done this already for another mod. You can do this by:
Locate where your game preferences are saved (usually C:\Users\YOURNAME\Documents\My Games\Starfield)
Create a file called StarfieldCustom.ini using a text editor like Notepad
Paste the below text into the file:
[Archive]
bInvalidateOlderFiles=1
sResourceDataDirsFinal=
Save and close the file
Launch the game
Troubleshooting
Vortex should handle this for you but if you are having issues the following may help. If the textures are not showing up for you in game, there are two main methods you can try. These will require manually installing the textures separately. Make sure you back up your folders before doing so.
Method 1:
Use the package installer through your mod manager as usual. When you get to the textures option, choose “None”. This will skip installing the display screen and trade authority textures
Download the textures manually. The archive file contains all available resolutions
Unzip the package somewhere safe, outside of your game folders
Select the resolution you want
Copy the “textures” folder inside of your chosen resolution and paste it to: C:\USERNAME\Documents\My Games\Starfield\Data (or which ever drive you normally use)
They should now work
Method 2: (only recommended for advanced users who are comfortable with this and know what they’re doing)
Navigate to C:\USERNAME\Documents\My Games\Starfield and delete the Data folder (if you already have manual mods you want to keep in here don’t use this method, use the one above)
Add the following to your StarfieldCustom.ini
[Display]
sPhotoModeFolder=Photos
[General]
bEnableMessageOfTheDay = 0
This prevents the MOtD from appearing on the game’s launch screen and stops the My Games\Starfield\Data folder from regenerating and trying to overwrite the C:\Program Files (x86)\Steam\steamapps\common\Starfield\Data
Now download this mod and follow all installations steps.
The textures will install to your Steam directory like a normal mod and should function properly
This method may have unforeseen consequences or become unviable in the future if file structure and locations are changed by the game itself so use at your own discretion
Credits:
AoEnwyr

