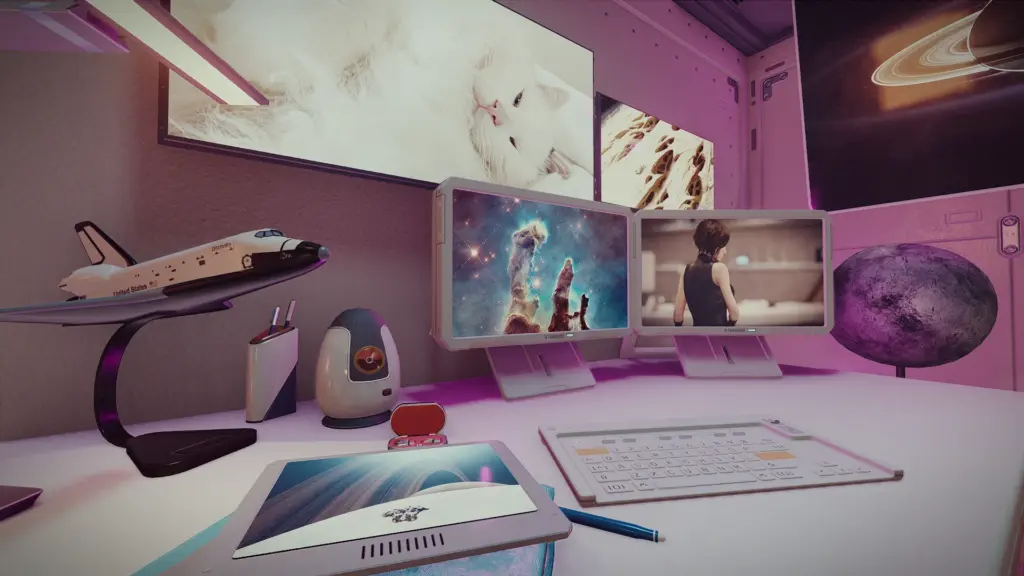
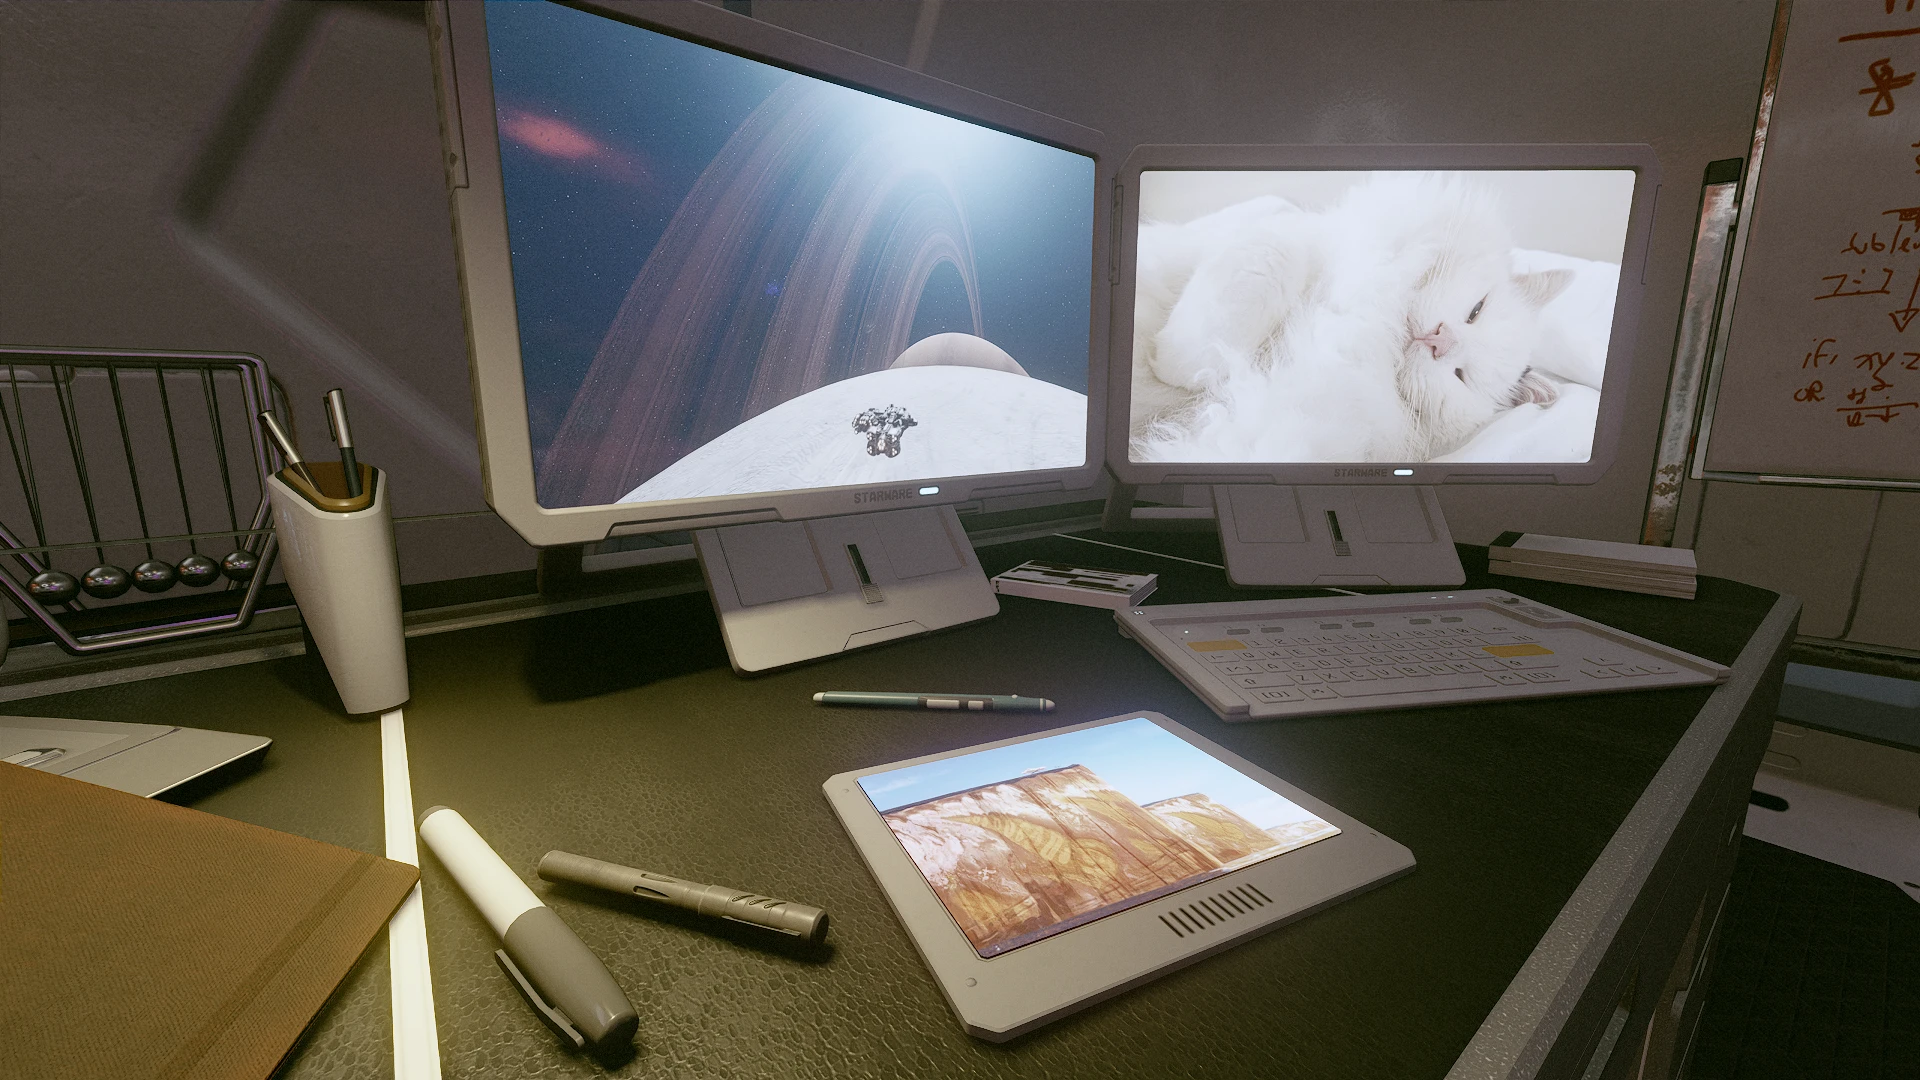
This mod adds buildable monitors (and a tablet) for your outposts/ships that can display a screensaver, like the Personal Digiframe and Desktop Digiframe. The picture selection can be customised if desired.
Once you are in the decorate/outpost mode, you’ll find a new tab that is added by this mod: “ZY_Monitors and Displays”. The vanilla monitors are unaffected by this mod.
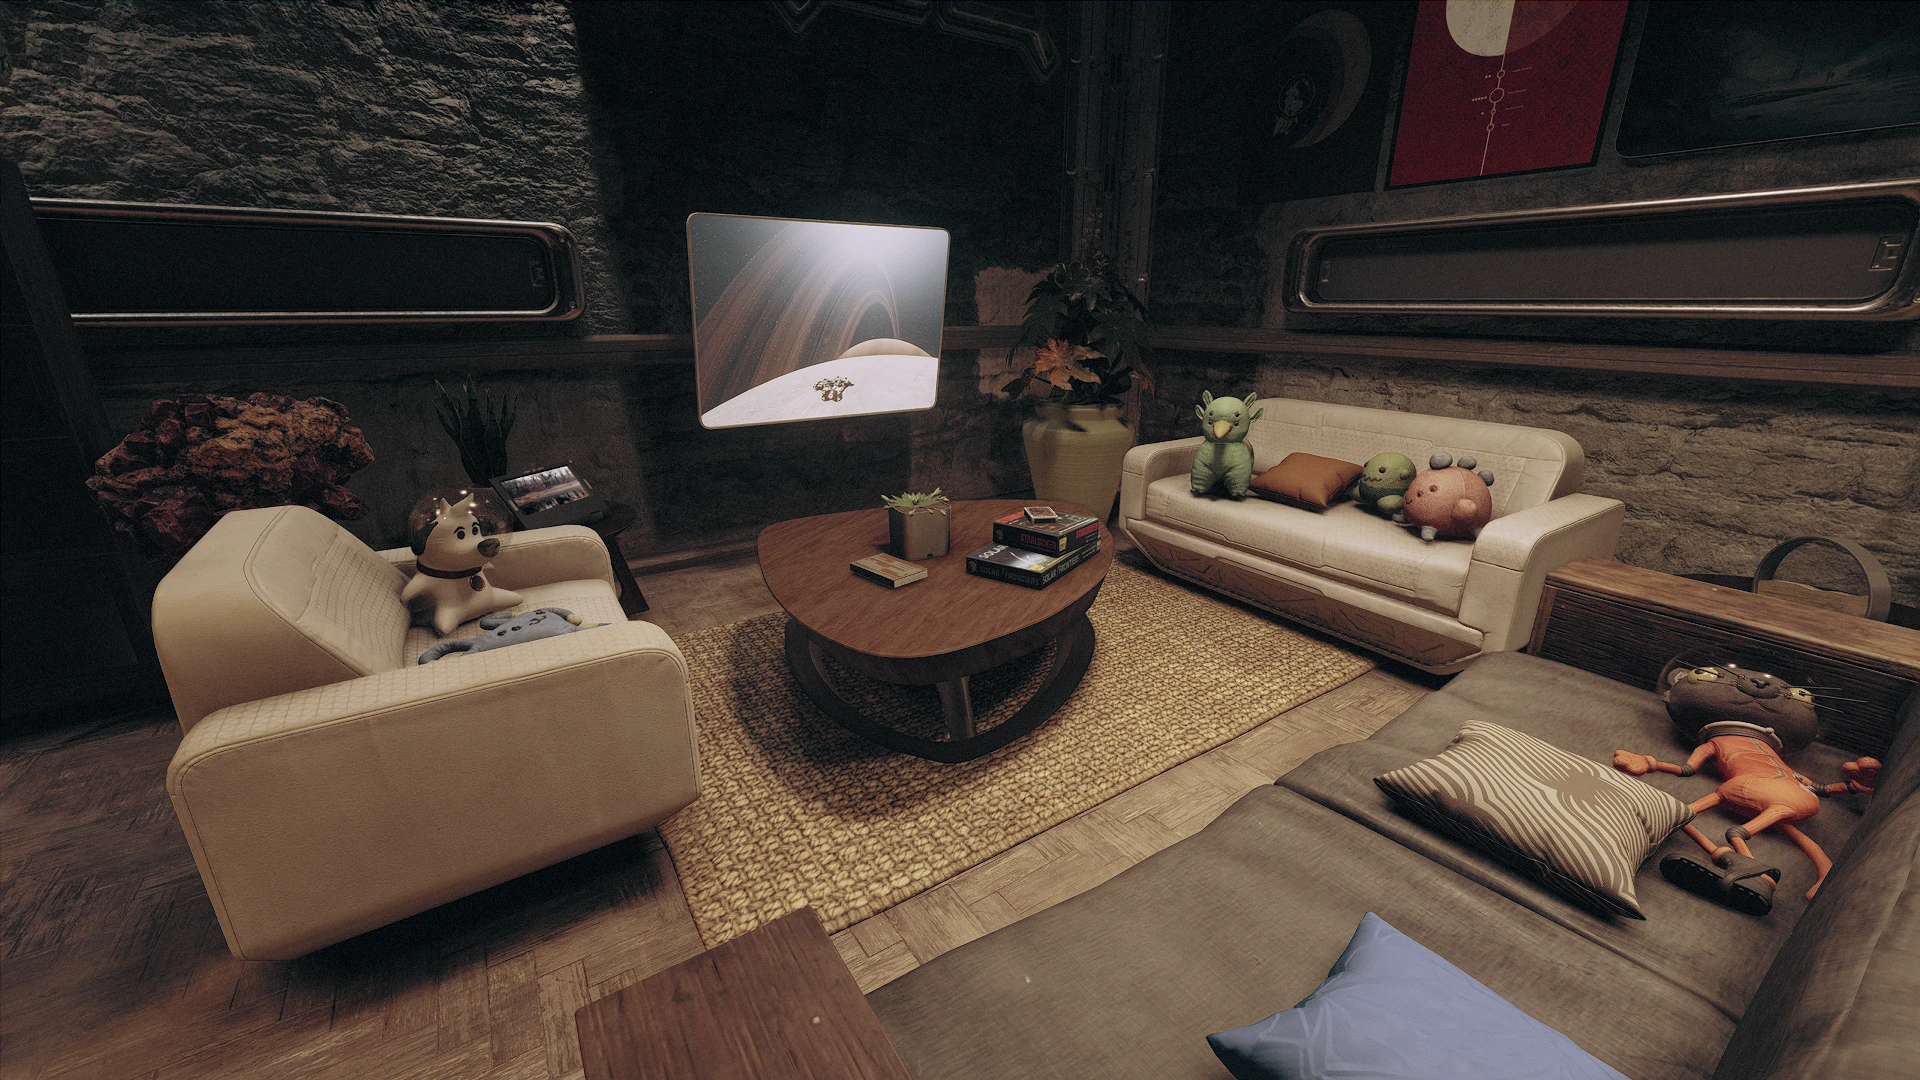
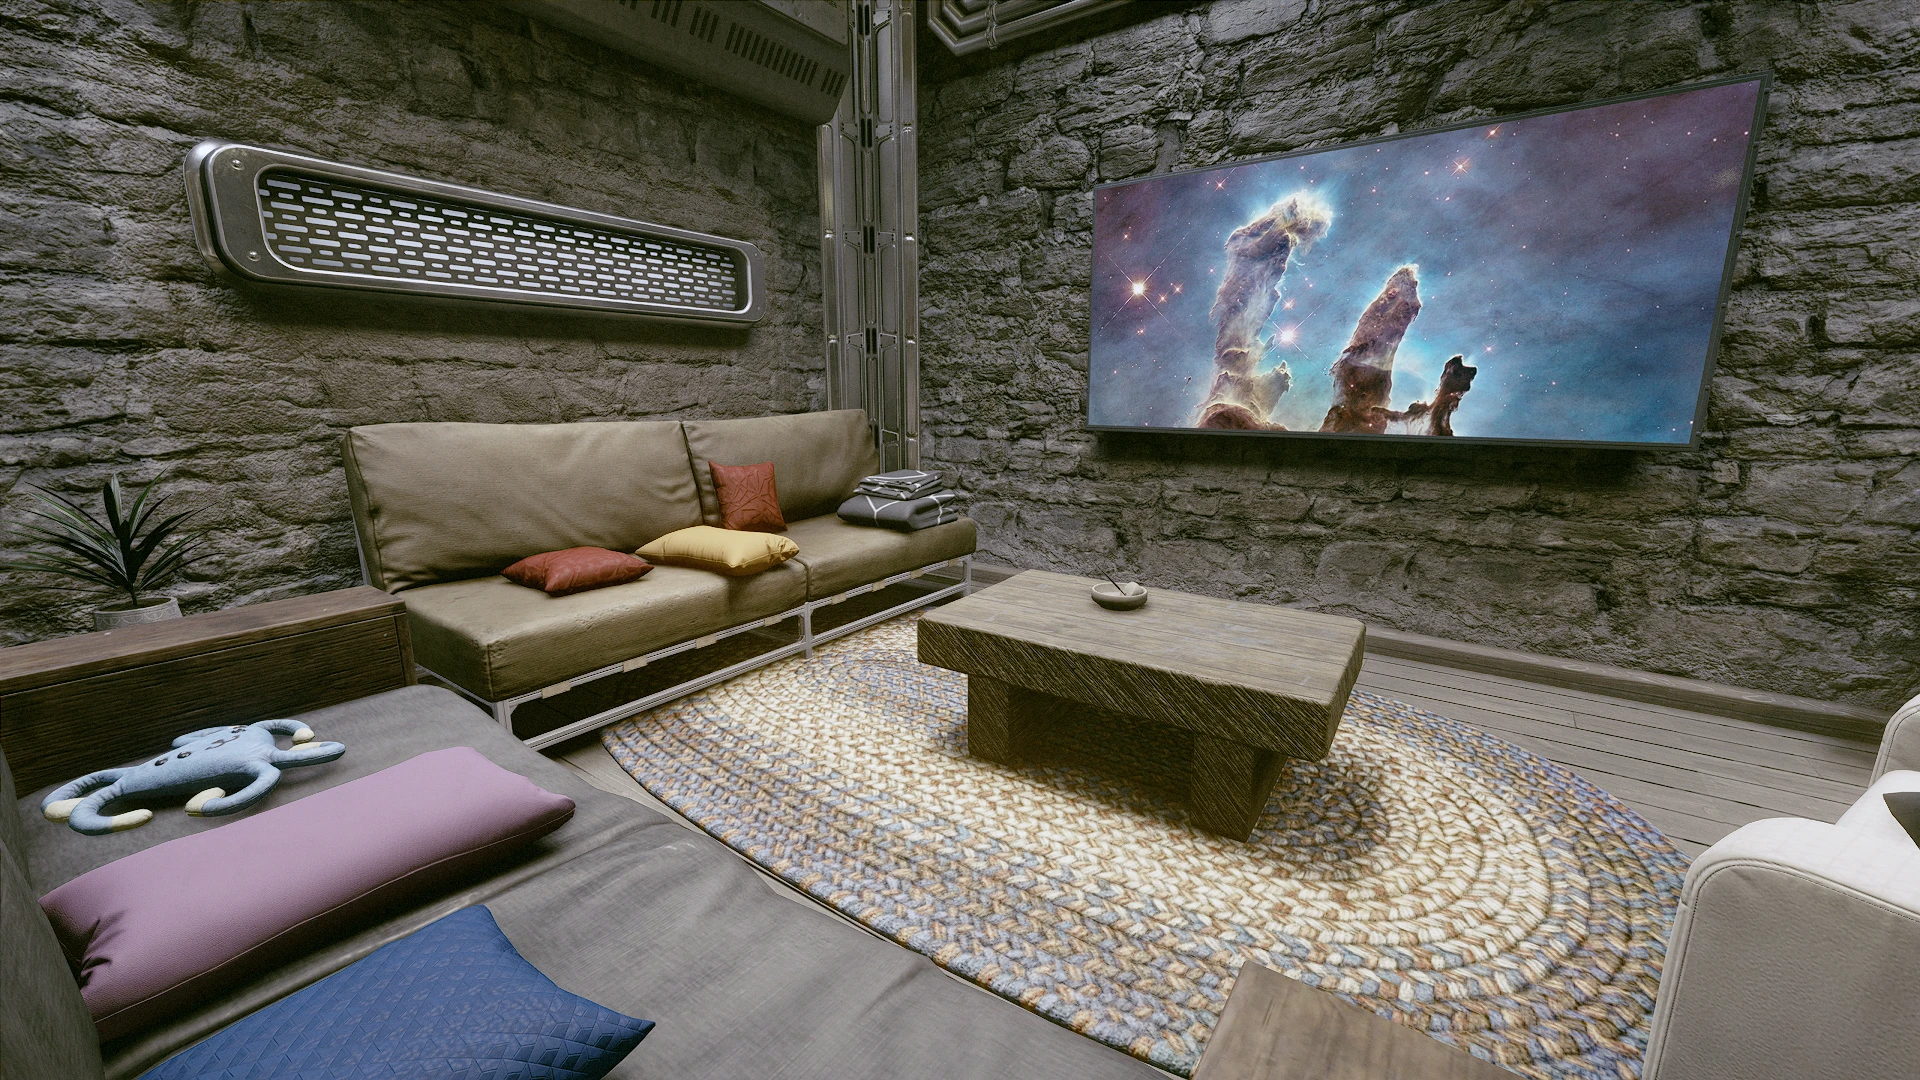
Aside from the familiar wall-mounted TV and desk monitor, a new slimmer wall monitor has also been added.
There is also a buildable tablet. This tablet can be picked up outside the decorate mode and can be put into your inventory. It cannot be scrapped, so sell it or jetison it to get rid of it.
All items cost one iron. No outpost research is needed.
Unfortunately, there are no icons, but they should be clearly labelled.
INSTALLATION:
Download the main file via a mod manager.
Screensaver and customisation
The screensaver contains nine images. The default set is a slightly altered version of the one displayed by the Digiframes. The duration of each image is also 50% longer.
You can replace the images using the following steps:
– Convert your images to Direct Draw Surface (DDS) format. Either:
(1) Use a photoprocessing software. I like Paint.NET, but you can use GIMP, Photoshop, etc. Save the images as DDS, BC7 (sRGB, DX11 +).
(2) Alternatively, you can use various format conversion tools, like this DDSConverter.
– The best aspect ratio is 16:9. Any other aspect ratio will result in the stretching of the images. There will be some cropping of the top and bottom for the “Wide Wall Monitor”, and the sides for the other monitors and the tablet.
– Create a folder path in your Data Folder: textures/ZYJ_Display
– Depending on your setup, this could be your game Data folder, the Data folder in Documents, or your virtual Data folder.
– Name your images with any number between 1 and 9 (e.g. 1.dds, 2.dds, etc) and drop them into the ZYJ_Display folder. If you don’t have nine images, the game will use the default for any missing file.
– Ensure that you have created the StarfieldCustom.ini file in “Documents\My Games\Starfield\” and input the following:
[Archive]
bInvalidateOlderFiles=1
sResourceDataDirsFinal=
– Launch the game and enjoy the fruits of your labour.
– If you know what you’re doing, you can pack your loose files into my textures.ba2 Archive and replace the files inside.
TIPS
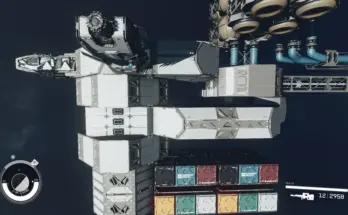
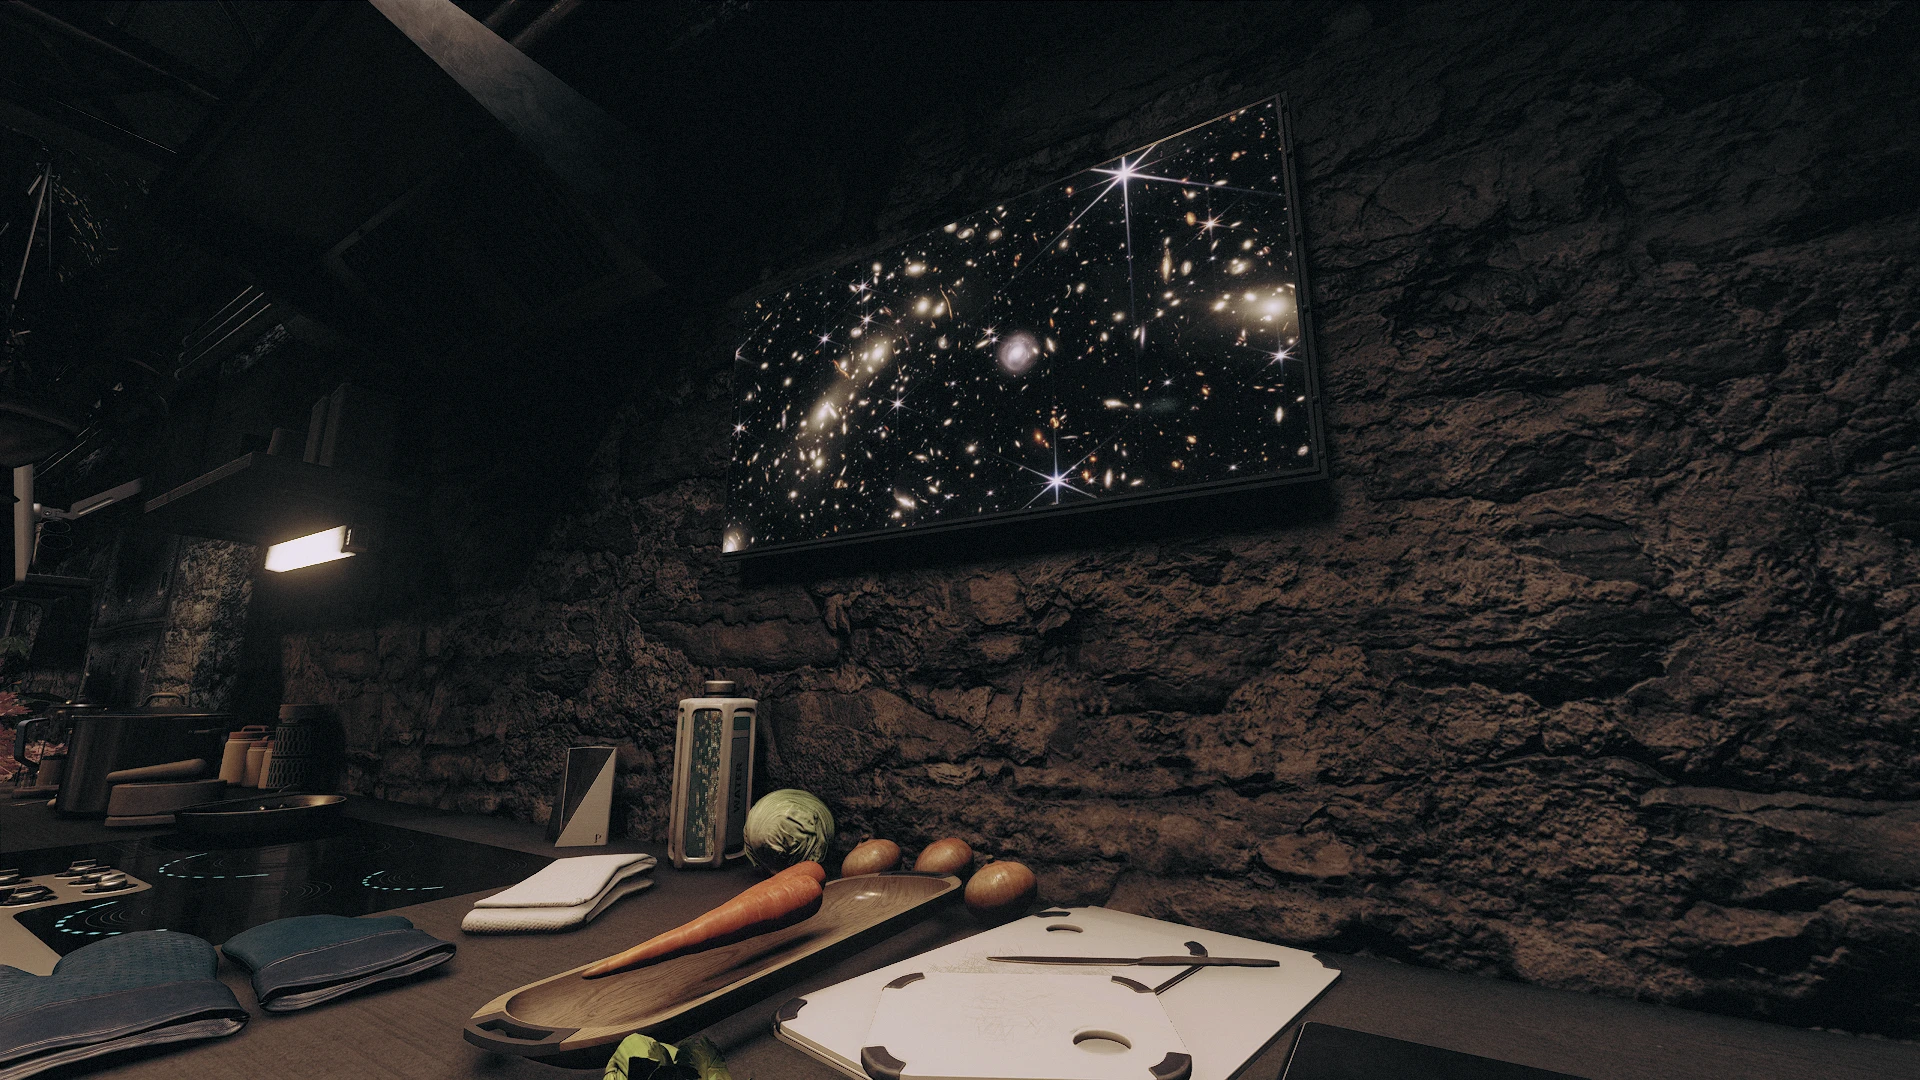
You can use the setscale console command to resize the monitors. This works particularly well with the “Wide Wall Monitor”.
Stand close to the monitor, then enter the console command window by hitting the “`” key, then click on the monitor. You should see something like STAT ” (FF123456) [PP]. Then type setscale (number). Numbers smaller than 1 shrink the monitor, and numbers larger than 1 enlarge it. For example, the command setscale 2 doubles the original size, as shown in the image above. A normal-sized monitor is at the bottom of the image for comparison.
If the ID is not STAT and there’s no [PP], you’ve selected the wrong object. If you accidentally rescaled the wrong object, don’t panic. Without exiting the console window (if exited, reopen the console window immediately), type setscale 1 to revert it to the original size. Sometimes it’s easier to place the monitor in a more empty area, resize it, and then place it in the desired location.
Credits:
ZY20042
If the download link is outdated or doesn't work, you can add your download link. (If your link is valid, we will approve it within 24 hours.)
Download mod
| File | File size |
|---|---|
 Screensaver for Outpost Monitors-1-0
|
4 MB |