This All In One package gathers together all of the Easy Read Dark UI and Display Screen mods into one easy to install package. This mod includes the following:
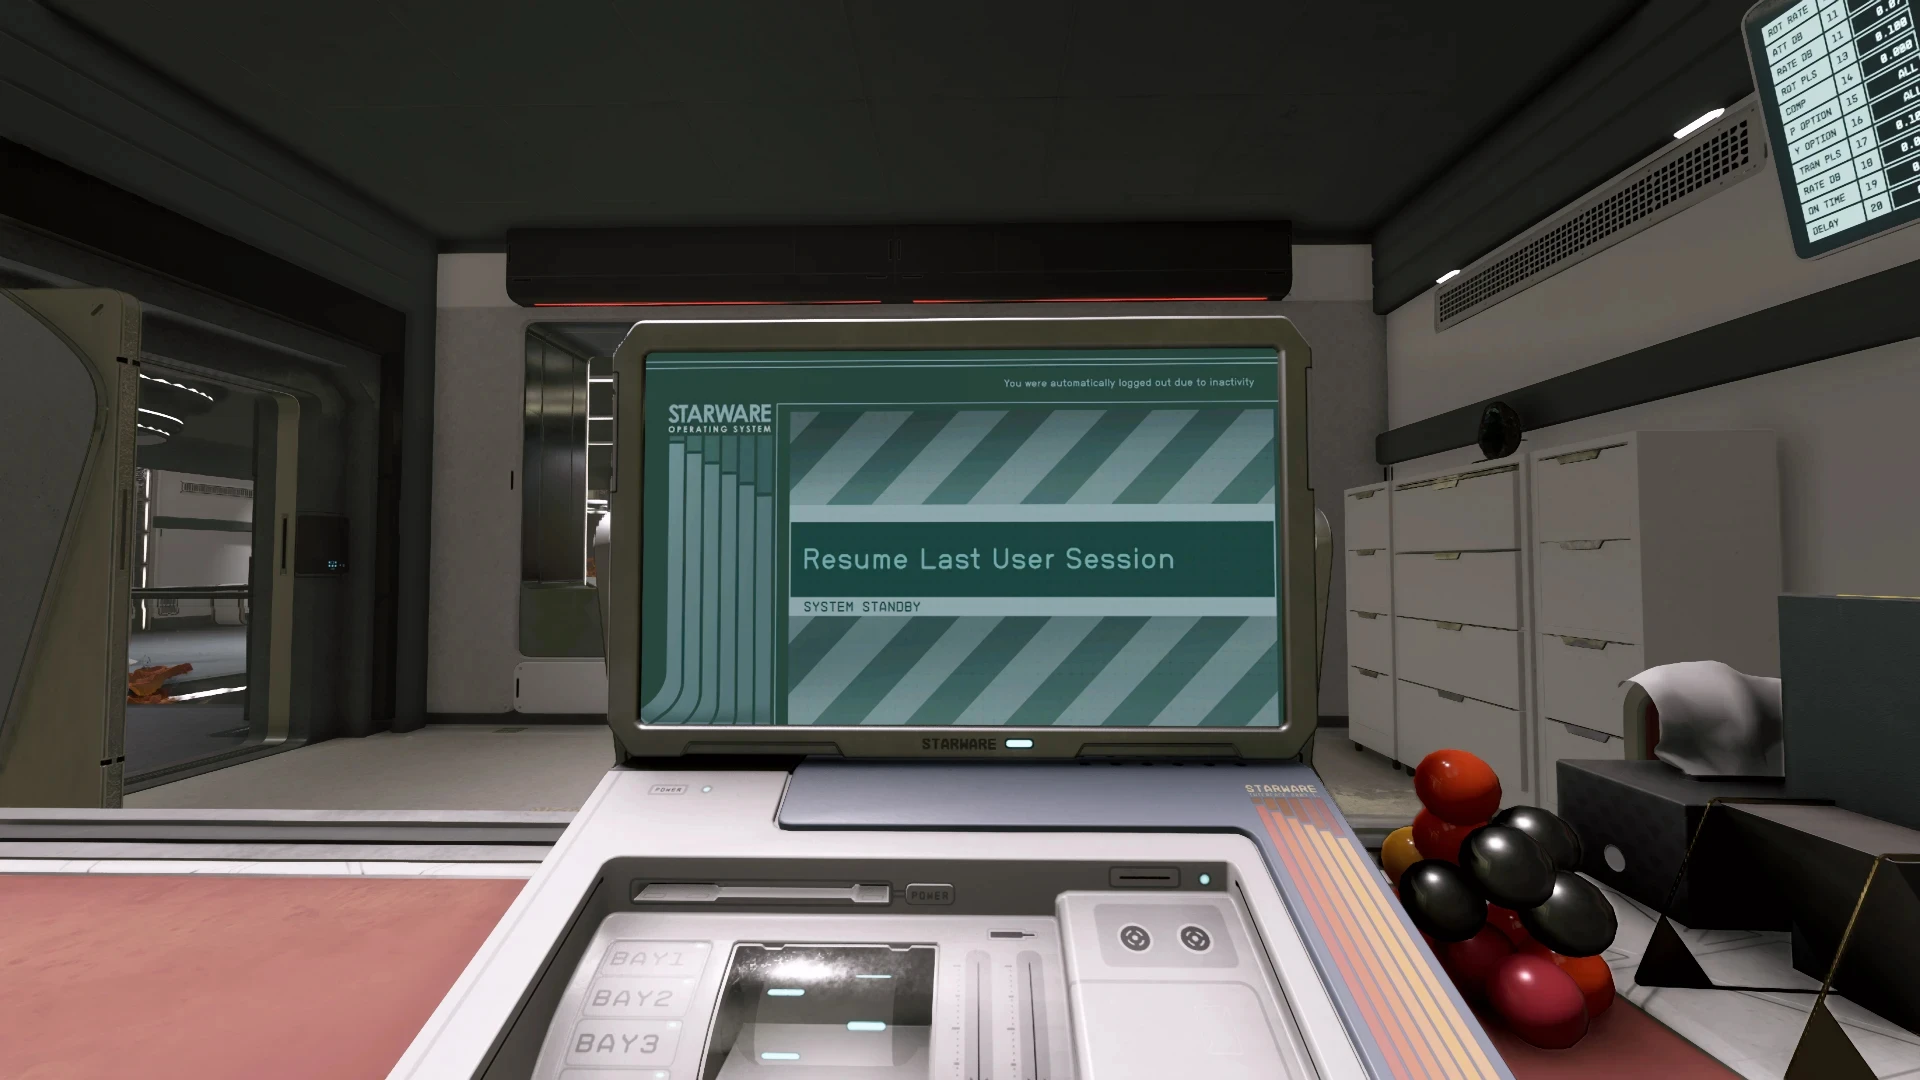
Clean Terminals
Removes most of the dust and grain textures
Provides a medium contrast dark interface
Simplifies some terminal wallpapers with custom redesigns
Reduces visual complexity for people who have difficulties with busy backgrounds
Crafting Stations
Unifies the colours of all crafting stations into a single theme
Improves contrast and readability
Provides an optional adjustment to maximum crafting limits
Display Screens
Beautifully crafted in-world dark theme textures
1k, 2k and 4k resolution options
Fully immersive experience
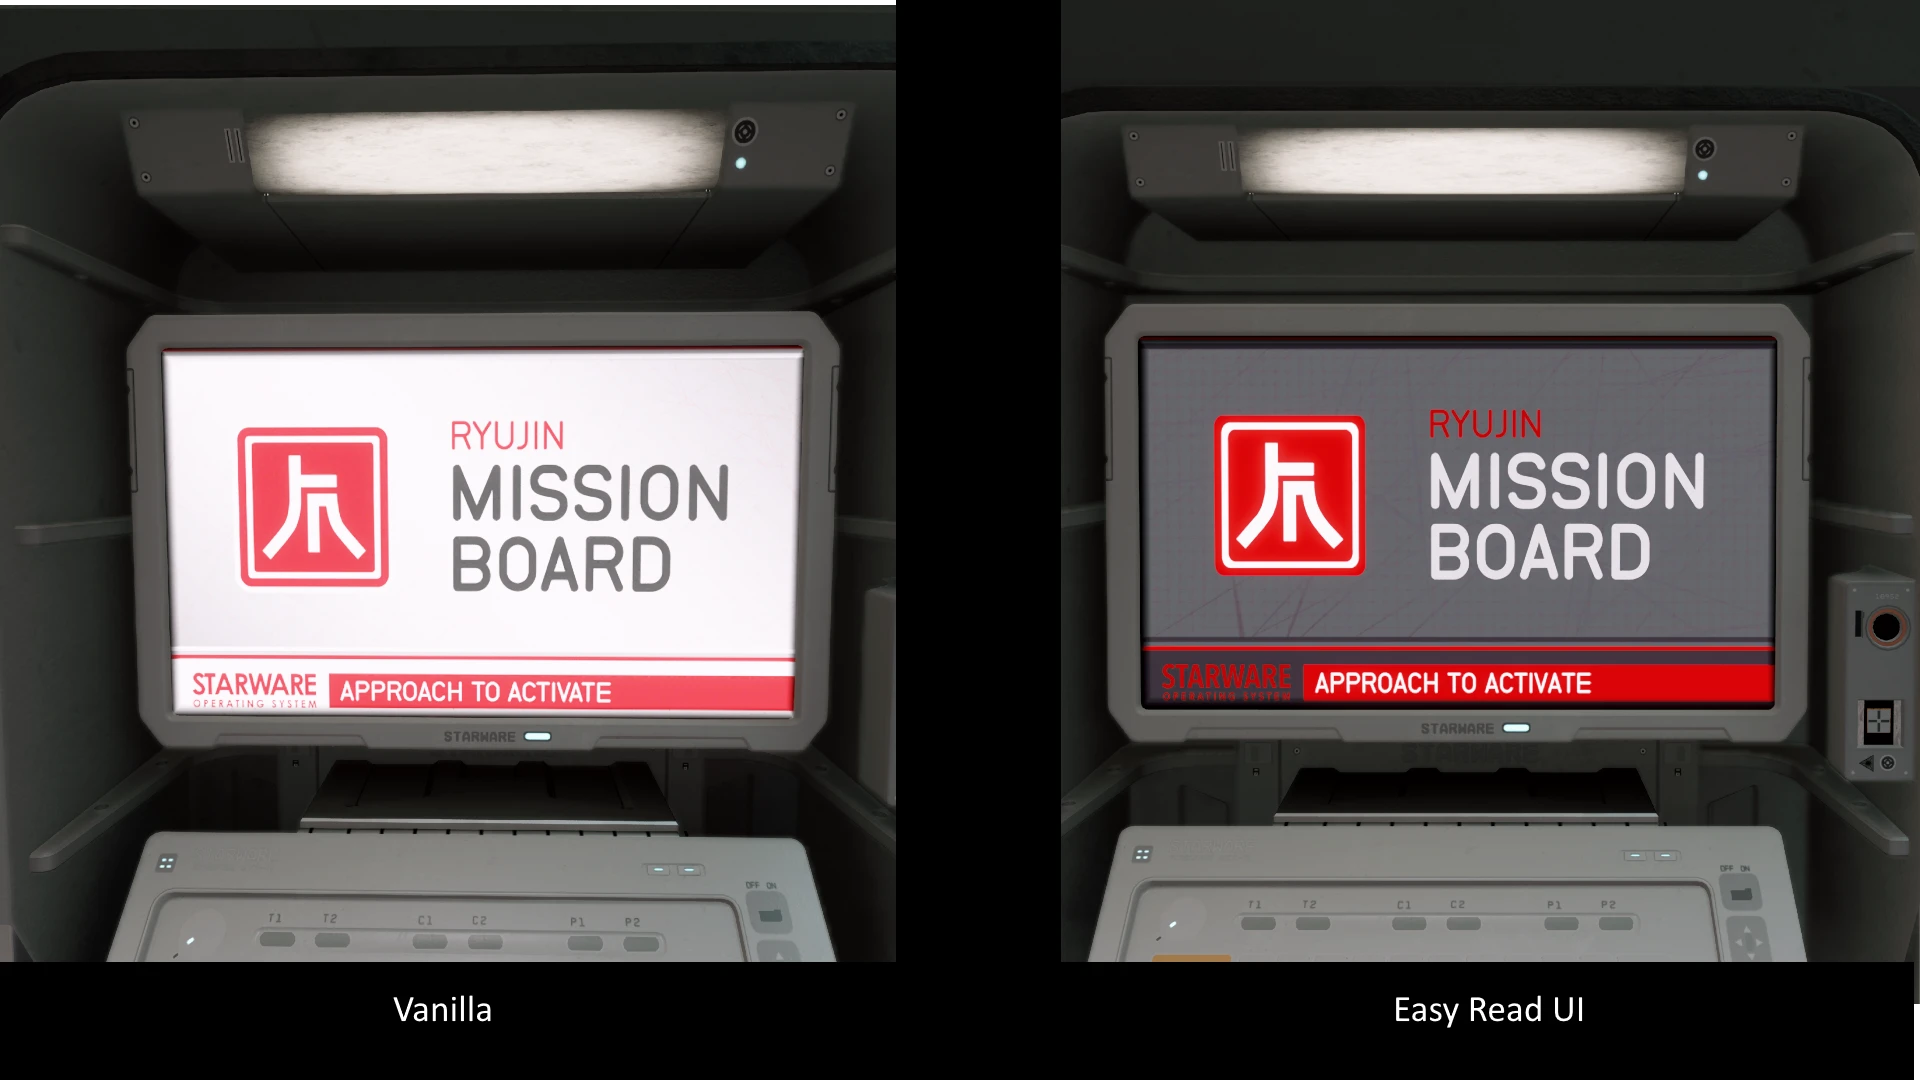
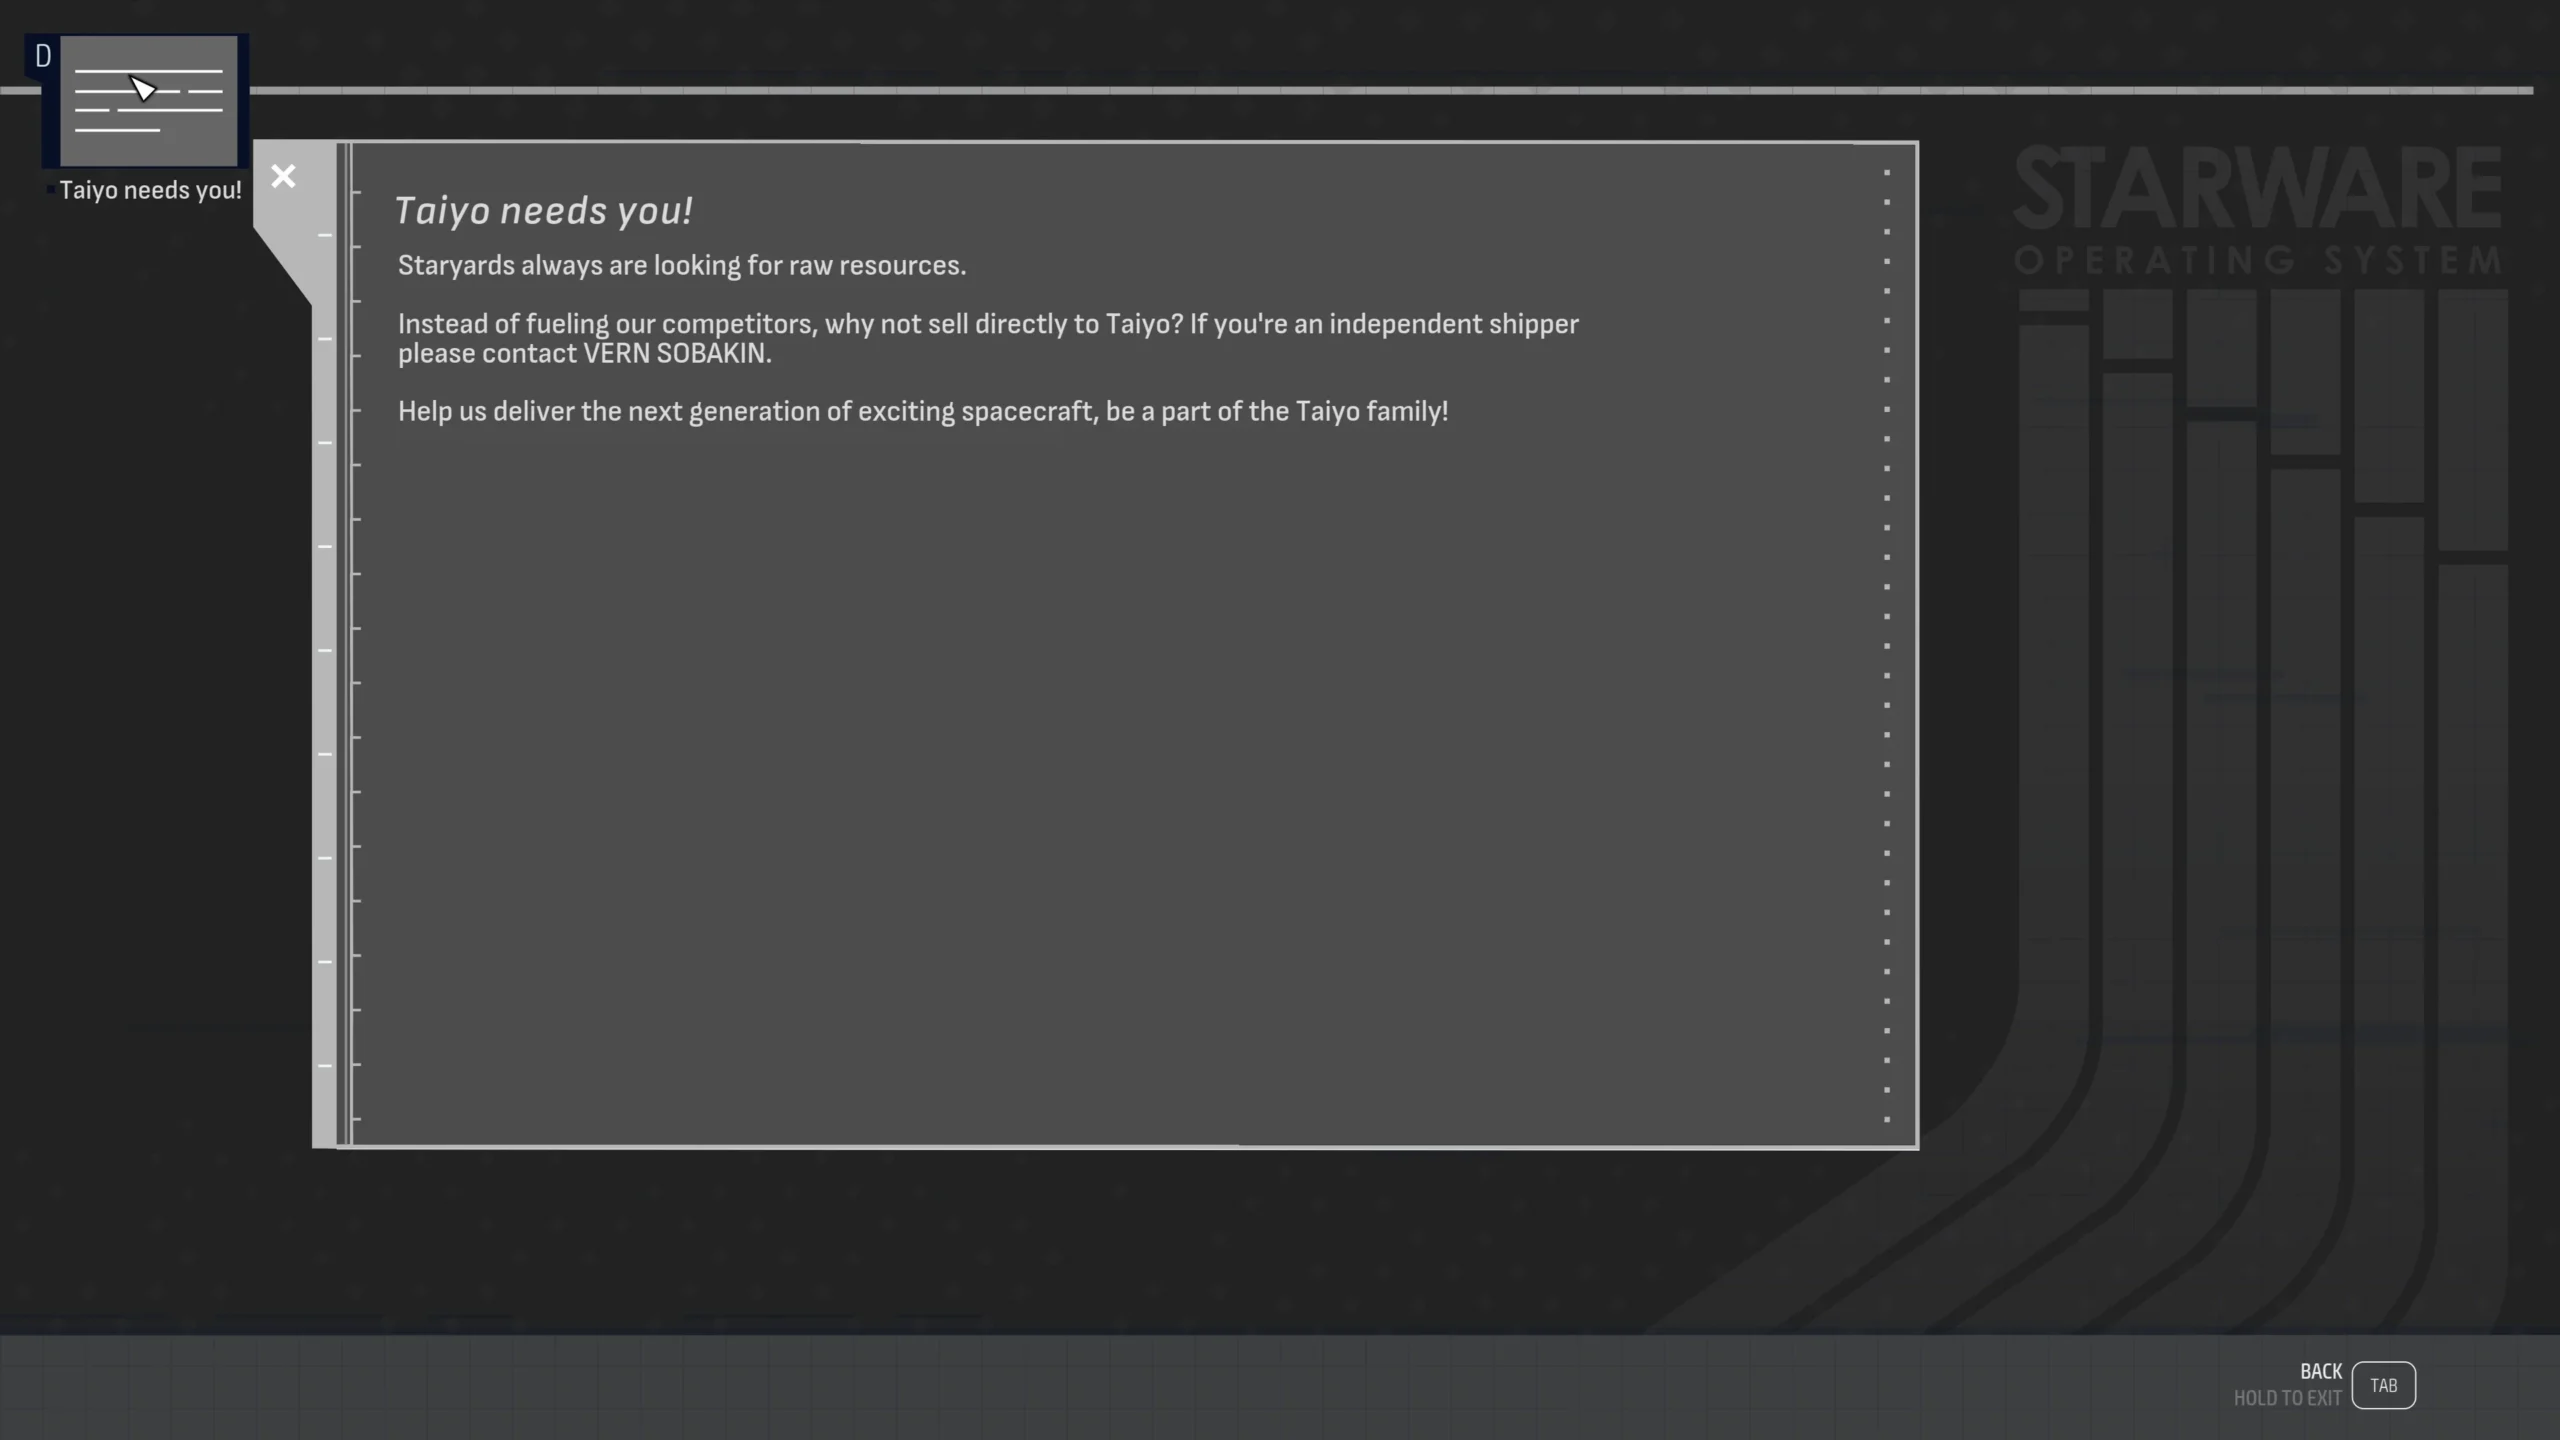
Mission Boards
Medium contrast dark interface
Improved readability
Improved background textures
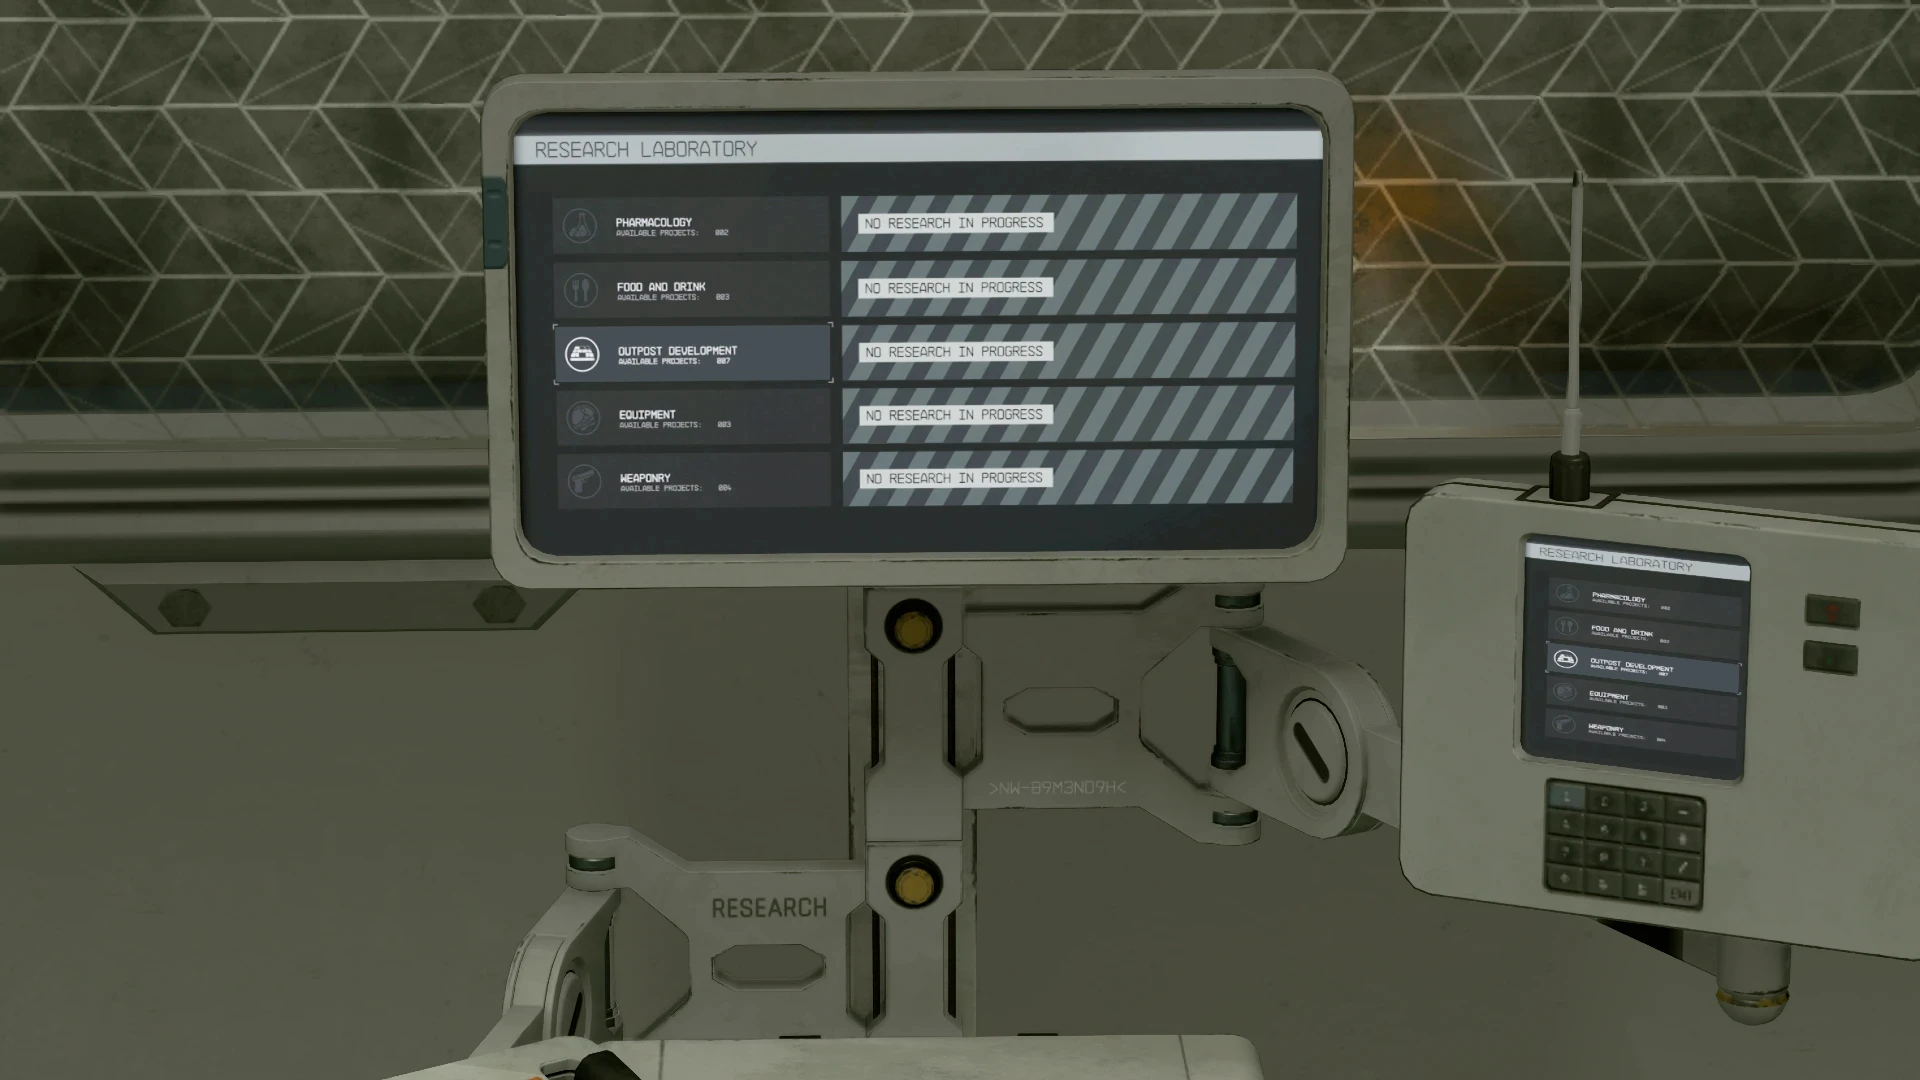
Research Laboratory
Reworked dark interface
Simplified textures for improved readability
Improved selection highlights for visual contrast
The installer for this mod supports both Vortex and MO2 mod manager. You can choose standard 30, 60 and 120 FPS versions of the UI mods and 1k, 2k or 4k versions of the display screen texture replacers.
Installation
You can install this mod by downloading it to your mod manager and following the steps while installing. Only download and extract files manually if you absolutely know what you are doing and make sure you back up your install directory before doing so. For the most part, we won’t be able to troubleshoot any issues you have with manual installation if you choose that route.
That said, if you are having trouble with the Display Screen textures not showing up in game, please see the Troubleshooting section below
Archive Invalidation
To get the mod working you may need to set up Archive Invalidation if you haven’t done this already for another mod. You can do this by:
Locate where your game preferences are saved (usually C:\Users\YOURNAME\Documents\My Games\Starfield)
Create a file called StarfieldCustom.ini using a text editor like Notepad
Paste the below text into the file:
[Archive]
bInvalidateOlderFiles=1
sResourceDataDirsFinal=
Save and close the file
Launch the game
Troubleshooting
If the Display Screen textures are not showing up for you in game, there are two main methods you can try. These will require manually installing the textures separately. Make sure you back up your folders before doing so.
Method 1:
Use the package installer through your mod manager as usual. When you get to the textures option, choose “None”. This will skip installing the display screen textures
Download the Display Screen Textures manually. The archive file contains all available resolutions
Unzip the package somewhere safe, outside of your game folders
Select the resolution you want
Copy the “textures” folder inside of your chosen resolution and paste it to: C:\USERNAME\Documents\My Games\Starfield\Data (or which ever drive you normally use)
They should now work
Method 2: (only recommended for advanced users who are comfortable with this and know what they’re doing)
Navigate to C:\USERNAME\Documents\My Games\Starfield and delete the Data folder (if you already have manual mods you want to keep in here don’t use this method, use the one above)
Add the following to your StarfieldCustom.ini or copy it from the optional example file on the downloads page
[Display]
sPhotoModeFolder=Photos
[General]
bEnableMessageOfTheDay = 0
This prevents the MOtD from appearing on the game’s launch screen and stops the My Games\Starfield\Data folder from regenerating and trying to overwrite the C:\Program Files (x86)\Steam\steamapps\common\Starfield\Data
Now download this mod and follow all installations steps.
The textures will install to your Steam directory like a normal mod and should function properly
This method may have unforeseen consequences or become unviable in the future if file structure and locations are changed by the game itself so use at your own discretion
Changelog:
Version 1.4.9
Removed redundant Vortex/MO2 flags from FOMOD
Version 1.4.7
Fixed incorrect armour and weapon crafting benches in 60FPS streamline vanilla crafting option
Version 1.4.6
Added missing files to Streamline versions
Version 1.4
Added Trade Authority Terminal retexture
Added Streamline Crafting UI for standard font users
Credits:
AoEnwyr and Jmak518
If the download link is outdated or doesn't work, you can add your download link. (If your link is valid, we will approve it within 24 hours.)